Instruction
1
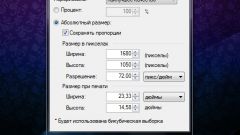
If you work in a graphics editor such as Adobe Photoshop, in the top line menu click "Image" (Image) in the drop-down menu click with the left mouse button on the item "Image Size" (Image Size), you will see a new dialog box. In the opened window, in the fields to specify the unit of measurement select (select using the drop-down list) the value of "Pixels" (pixels) and enter the desired value. Click OK.
2
To increase the resolution of the image on the monitor screen, call the component "Screen". To do this through the "start menu" open "control Panel" and in the category "appearance and themes" click the left mouse button on the icon "Display". Another way: click in any free of file and folder location "Desktop", right-click, in the drop-down menu, select "Properties". Opens a new dialog box "display Properties".
3
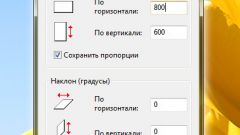
Navigate in the window that opens on the Parameters tab and drag the slider under "screen Resolution". The higher the screen resolution, the smaller will be the size of the various screen elements (icons, folders and files, labels, buttons, and so on). After selecting the desired resolution click "Apply". The screen briefly turns black and then you will see how to display the elements with the new resolution. Confirm your action and close the display properties window.
4
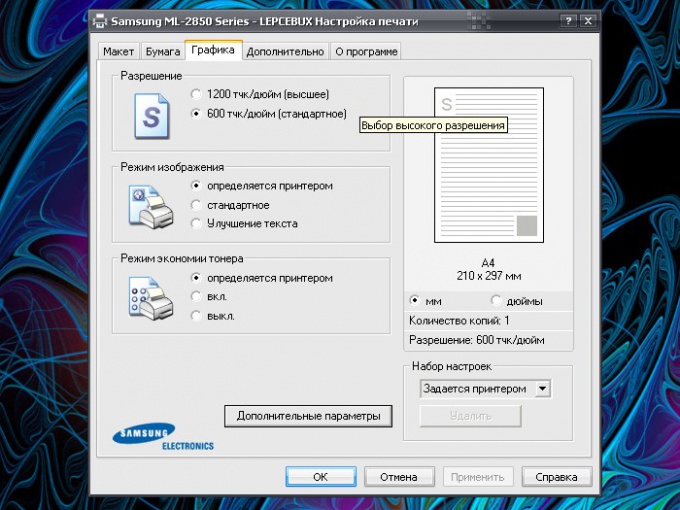
To set the print resolution, open the "Printers and faxes". To do this through the "start menu" call "control Panel". In the category "Printers and other hardware" click the "Printers and faxes". In the opened window, right-click the mouse on your printer icon and select "printing preferences". Click on the tab "Graphics" and select the desired resolution (for some printers the Advanced button, parameter "print Quality"). Click on the "Apply" button to make new settings into effect and close the window.