You will need
- Prototyping Board (breadboard), connecting wires, led, button, resistors with a resistance in the range of 200...500 Ohm, battery.
Instruction
1
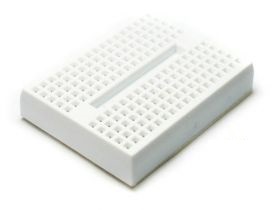
Typical view of breadboard shown in the figure. There are more difficult samples, are simpler. But the principle remains the same. Breadboard consists of a plastic base with lots of holes, usually with a step of 2.54 mm. Hole is needed in order to insert their findings of electronic components or connecting wires.
2
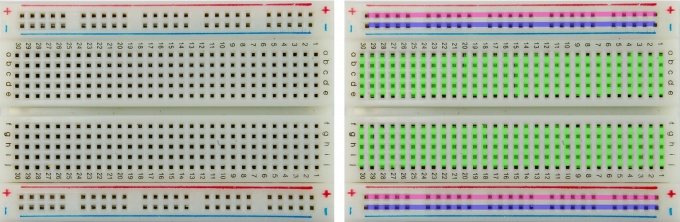
The figure shows a different breadboard. Left - General view, right side color is used to mark the conductors. The blue color is the "minus" scheme, "red" - plus, green is the guides that you can use at their discretion. Please note that the holes are not connected along the breadboard and across.
3
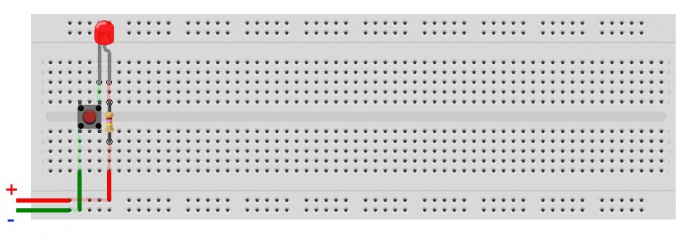
To acquire skills of work with the development Board need to collect the simple circuit as shown in the figure. "Plus" connect to the positive pole of the battery, negative to negative. Red and green conductors, pale red and pale green- track breadboard. If the circuit is assembled correctly, when you press the button the led should light up. You see, we didn't get to take in hands a soldering iron to assemble an electrical circuit. It is quick and easy.
Useful advice
Try to collect a few simple schemes to consolidate the skills of using breadboard.