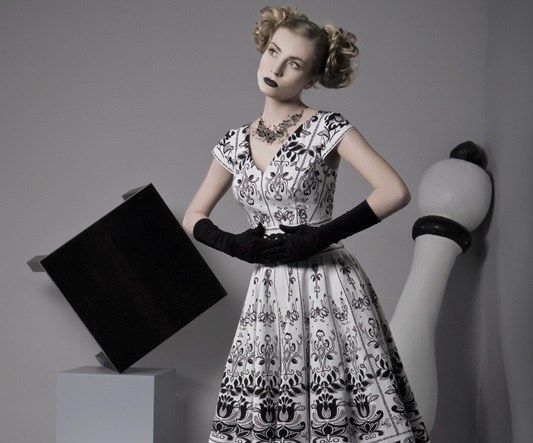
Make a pattern
To sew a dress or suit in the style of the 60's, you will need a basic dress pattern – more precisely, its upper part. The skirt is cut out directly on the fabric. It is better to choose the simplest style – fitted bodice with a long zipper in the back, semi-circular cutout under the neck, short sleeve. When you draw a pattern you have already made to their own measurements. But now you need some more:
- total length of the product;
- skirt length from waist to hem;
- waist circumference;
- sleeve length.
Templates shelves and backless cut at the waist (the waist folds are divided exactly in half). The patterns on the sleeves mark the length of this part, draw a straight line parallel to the line of the bottom. Pattern top finish.
The dress can be long sleeve, and even sleeveless – styles were very different. In the latter case, it is necessary to slightly extend the armhole.
Choose the material
Sew a beautiful dress for summer in the style of the 50s can be from any tissue. It is better to choose the material, popular in those years – silk, staple and satin. Calculation of fabric depends on the width of the cut and whether your dress skirt or the bell. The top and sleeves with a width of the cut is more of a full bust will need 1 length, plus a few inches for processing. The skirt need 4 its length, the bell – 2.
Dress in the style of 60s you can sew two fabric types, making from the same fabric top, and on the other sleeve and skirt.
Cutting
New cotton material in front of the crack needs to be washed or ironed through a damp cloth. Piece easier to cut. Leave one piece for the front, back and sleeves, the other for skirts. The segment, intended for skirts, fold in half the equity. Find the center crease line and make a mark. Draw 2 semi circles with the center at this point. The radius of one is equal to the circumference of the waist divided by 6.28, the radius of the second measure with this added to her length of skirt. Do not forget to add a few inches for the handle the bottom. Top also need to leave a seam allowance. The dress was not tight, the seam allowance needs to be cut in 3-4местах. A piece designed for the top and sleeves also fold in half for equity. The middle shelves align with the bend next to the position details backless and sleeveless. Mark control points on the armhole and the top part, they are all well-made pattern. Circle details on the contour, and then again, adding on each side, 1 cm for seams. By the way, on the photo you can see the different sleeves. Especially popular was the flashlight.
A circle skirt can be seamed. Can be done dress on a long palni, from the nape almost to the hip line, it was also very fashionable.
Assembly dresses
Sweeps and sostrochite all undercut. Baste shoulder and side seams. Try on the bodice, if necessary, adjust, then sew the seams. The top part of the sleeves sew basting seam or prostrochite on the machine using large stitches. Simple sleeve can be immediately and filed. Vmlite sleeve into armhole, aligning the reference point. Again try on the bodice. Treat the neck podkralas bake. Further actions depend on the length of the zipper. If it is very long and covers the top of the skirt, baste and sostrochite the lower and upper part of the dress, and then vivite zip. If the zipper ends at the waist or even higher, you can first sew it and then pretrazivati skirt. The last step is to handle the bottom. Fold it in 0.5 and 1 cm and a hidden hem stitch.


