You will need
- - polyurethane moldings;
- - primer of deep penetration, acrylic-based;
- - paint for the moldings;
- - decorative plaster;
- - brush or spatula.
Instruction
1
Pick the desired color. The original color of the polyurethane, which appears white on the ceiling will look slightly gray. To obtain a milky color, add white paint a bit yellow. Proven decorating trick is to mix white paint with the color close to the main color of the walls. The moldings may be a contrasting color, accentuating the boundary between walls and ceiling.
2
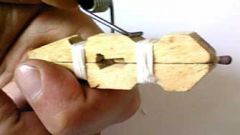
Prepare the molding for painting. All decorations should be taped to the wall or ceiling. Polyurethane moldings will not stay on the Wallpaper or painted walls, so they should be attached before proceeding to a further decorative treatment of the walls. Treat all joints with a special glue and inspect the surface for scratches and nicks. Even small imperfections will be noticeable after you paint. All the chips are treated with a plaster based on acrylic.
3
Apply a primer of deep penetration, acrylic-based. Polyurethane refers to porous materials, so before painting all the pores need to be filled: then the paint will go on smoothly as a basis and further mouldings can be cleaned with a damp cloth.
4
Paint the moldings. You can use water-based, latex or acrylic paint. An interesting effect can be reached tile paint, which is a ordinary paint water based with the addition of insoluble solid particles and pigments. The thicker the paint is applied to the molding, the surface becomes more prominent.
5
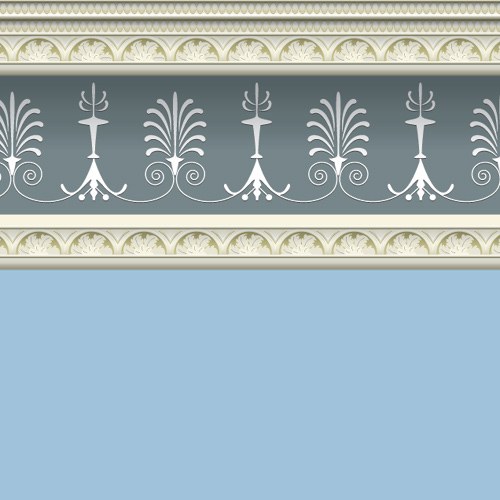
Cover the molding with decorative plaster. For polyurethane decorative elements is best to choose a coating with the effect of mother of pearl or gilding. Apply the plaster with a small trowel or brush in cross movements so that the tool left on the surface of the raised tracks. The wider the molding, the thicker may be the layers.
Useful advice
Wide moldings give more scope for the imagination: ornaments can be painted in different colors.