Instruction
1
Click "start" –> "control Panel" –> "user Accounts". If you are using Windows XP, in the window that appears, click on the link "create an account". If you have installed the Windows 7 operating system in the window that appears, click "Manage another account record". In the next window, select the link "create an account".
2
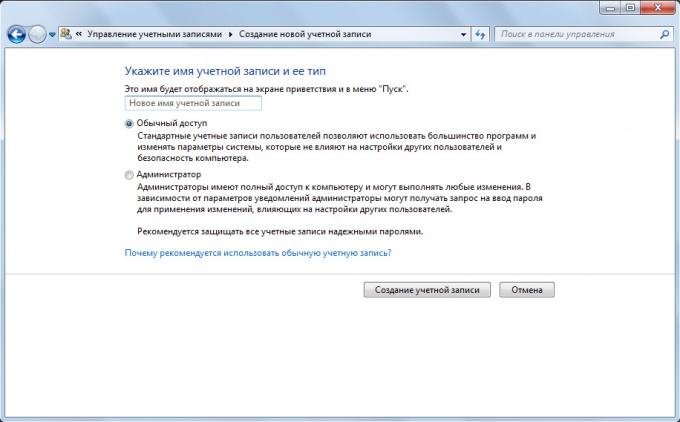
Specify the name for the newly created user account. It will be used to log into the system and displayed on the welcome screen of the operating system. It is recommended to select the account names on the basis of the future features of the user (e.g., Manager, Redactor, etc.) or of its real name (e.g., "Dmitry", "Irina", etc.), although this is not mandatory.
3
Define access rights for your account. Select one of the two values: "computer Administrator" and "Limited entry" in Windows XP or "Administrator" and "standard user" in Windows 7. It is recommended to use restricted rights when creating new accounts. Administrators have full access to all computer resources that is fraught with consequences when you use these possibilities to the inexperienced user or those to whom such privileges are not entitled. Next, click on the "create an account".
4
New account created, but it is highly recommended to set a password for it. To do this, click on the account picture, then select "create a password". Enter the password in the appropriate field, then enter it again in the confirmation box. Additionally, you can set a hint to remember the password in case you forget it. Tip does not need to explicitly specify the password, as it will be available to any computer user.