Instruction
1
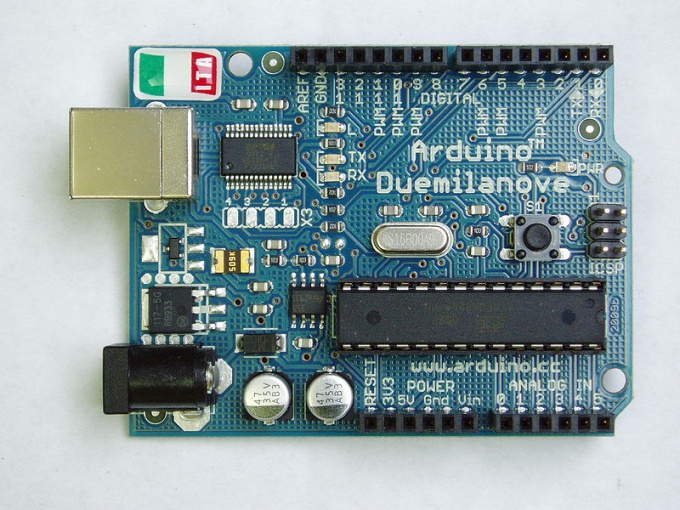
Purchase a ready-made Arduino Board or any of its numerous clones. The clone would wear any other name. If you wish, collect any of such clones on their own, using any of the following MCU AVR: ATmega8, ATmega168, ATmega328. In the absence of the computer's COM port will consider on-Board USB to COM Converter, or use a ready-made Converter. In all cases, do not forget also about the level Converter, since the COM ports of computers typically operate at a voltage of 12 V and the microcontroller require 5 or 3.3.
2
Program the Arduino microcontroller is a special-IOS, if this was not done initially (for example, in the finished Board). Write firmware into the microcontroller you will need only once, in the future you develop the program you will write to it via USB or a COM port without using the programmer. They will run on top of it similar to how the computer programs run on top of operating system.
3
If your computer does not have Java virtual machine, download and install it.
4
Download and install the official wrapper integrated Arduino development. This program, located on the official website of the project compatible with both the original Arduino boards series and their unofficial clones.
5
Connect the card with computer and then feed her food.
6
Run the shell program. Then select a Board type. If it is unoriginal, select the pay with which it is compatible. Also, select the port to which it is connected.
7
Consult the shell examples. They are written in a special programming language called Wiring. Take turns to write them into the microcontroller, located on the Board, and run.
8
Having studied the examples, try to create their own software. If necessary, equip the extra peripherals. Being programmed, in the future it will be able to work standalone without a computer.