You will need
- - Fabric for the vest;
- - Thread with needles;
- - Sewing machine;
- - Decorative items;
- - Bias binding.
Instruction
1
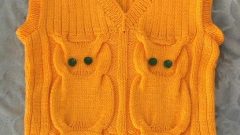
Pick up the cloth for a waistcoat for your child. If you're planning to sew a vest for warmth, choose wool fabric, artificial or natural fur, you can also use quilted material with water-repellent impregnation. If you need the vest elegant, exclusive and stylish, then take a denim and decorate it with lots of bright stripes.
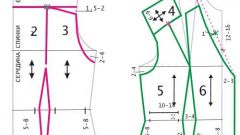
The most simple pattern will succeed, if you carefully cut around the shirt or blouse of the child, excluding sleeves. Select the desired length of the product, the shape of the neckline and the shape of the corners of the waistcoat and vicentita the pattern on paper. Cut out the pattern attach to the fabric from the wrong side and draw the outlines of tailor's chalk or a pencil.
If you plan to sew a vest with pockets, cut the pockets of the desired size and shape.
2
Cut parts of the tissue, leaving the sides 4-5cm of the allowances for freedom of motion. All items are sewn on the machine or on hand. If you sew dressy vest, then now is the time to sew decorative details. For girls, use lace and ribbons with beautiful embroidery, artificial flowers and bouquets, stripes with butterflies and dolls.
For boy will fit embroidery machines, superheroes and cartoon characters, are sold and stripe military style. Place all items on the shelves waistcoat and pin to pin, baste, and then pristrochite on a typewriter.
For boy will fit embroidery machines, superheroes and cartoon characters, are sold and stripe military style. Place all items on the shelves waistcoat and pin to pin, baste, and then pristrochite on a typewriter.
3
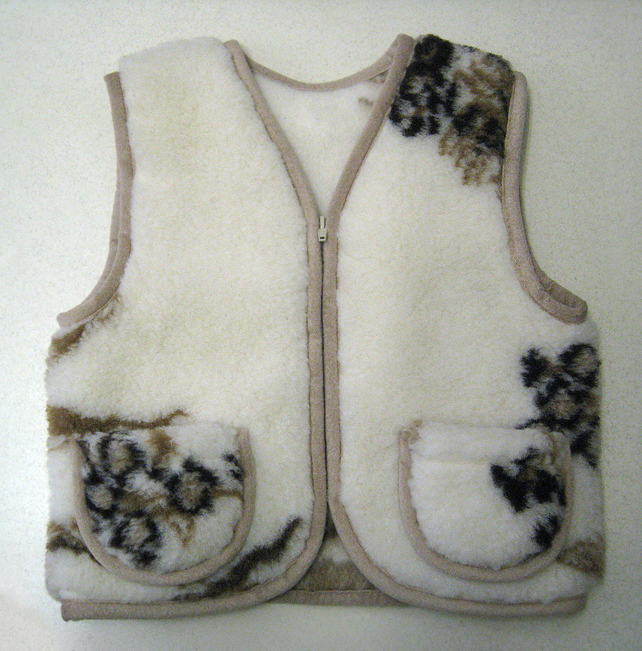
Edge detail pockets treat with bias binding. Sew the pockets to the shelf. Run the shoulder and side seams of the product, iron them. Edges of the entire jacket, including the armholes, panel with bias binding, preferably of a contrasting color.
Sew buttons on the product, and on the opposite side make a loop out of the borders. For girls on the shoulder, you can make strings of bright satin ribbons or use to fasten a children's brooch with a safety pin.
Sew buttons on the product, and on the opposite side make a loop out of the borders. For girls on the shoulder, you can make strings of bright satin ribbons or use to fasten a children's brooch with a safety pin.
Useful advice
Decorate your vest with embroidery and fringe on the bottom - you will get an exclusive product in ethnic style.