You will need
- a hammer, a scalpel or a blade from utility knife, voltage tester, resistor, soldering iron.
Instruction
1
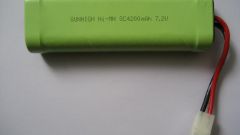
Pick up items for sameissue to remember that all battery cells must be of the same type and the same capacity. It is desirable that they were all from the same batch. Batteries the battery must have the same internal resistance and voltage.
2
Prepare the members for ustanovlennye items go on sale half charged. The battery need to install the batteries, the voltage of which is equal to approximately 3.1 V. For the discharge of the elements, you can use the resistor. To do this, connect all the elements ("minus" to "minus" "plus" "plus"). Discharge the cells one at a time is not recommended.
3
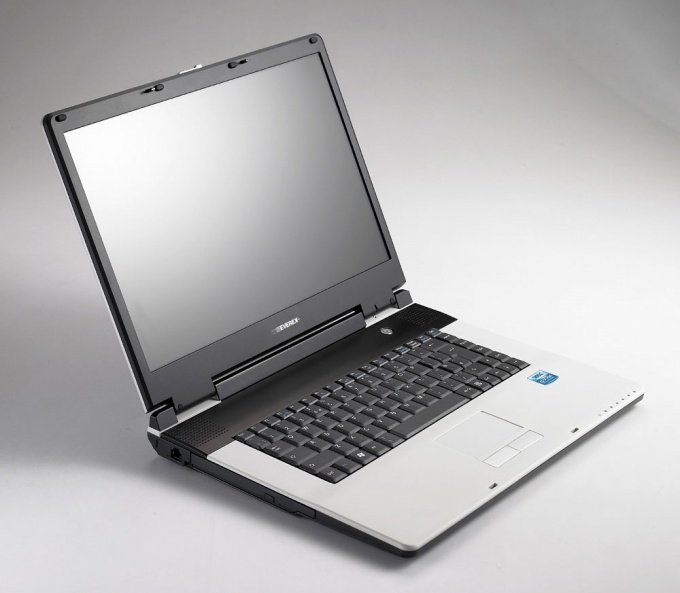
Fully discharge the battery of the laptop.
4
Remove it from the housing.
5
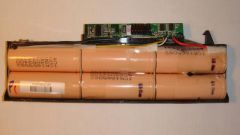
Open the case bateriostatic battery housing around the perimeter with a small hammer. Insert a scalpel blade into battery housing to a depth of 1-2 mm. After in the hull will crack, pull the case halves with your hands.
6
Tester measure the voltage on each of the items.
7
Unplug the old elements from the PCB, moving from the more "plus" to the smaller.
8
Connect new elements, moving in reverse order. Connect to "ground", and then "plus".
9
Carefully check the quality of the soldering and improper connections.
10
Replace the battery cover.
11
Install the battery into the housing of the laptop.
12
Turn the laptop on to the network.
13
After charging test the battery. If the battery life has increased - everything has been done correctly.
Note
The first process after the repair, battery charging must be strictly controlled. Watch the temperature of the battery. If a problem occurs you must immediately unplug the charger and remove the battery from the laptop.
Useful advice
In the repair of laptop battery, you need to change all items at once.