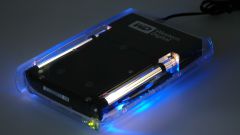
You will need
- A computer running the operating system
Instruction
1
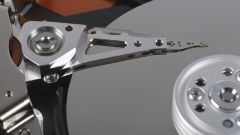
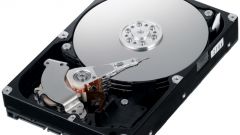
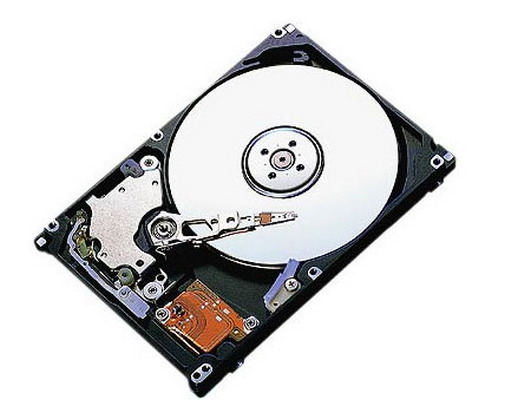
Turn on the computer, and immediately after power-on before starting to boot the operating system, press "DEL". You will find yourself in the BIOS menu. Go to the tab "MAIN" and press "Enter". A menu will appear, which will display the optical drives and hard drives connected to the computer. Locate equipment needed the hard drive. If not, select the number of the connector "SATA", to which he was connected, and hit "AUTO". The system now searches for connected to the connector of hardware. If the hard disk was detected by the system, click the command "save end exit. The computer will reboot, and the hard drive will be available in "My computer".
2
If the system failed to detect the hard drive, most likely off the controller interface SATA. Find "SATA configuration" in the "controller" tab, select "enable". Then follow the operation described by the paragraph above.
3
If you just accidentally turned off the hard drive in the BIOS, then turn it back on is the easiest way to reset. Enter the BIOS and select the line (Load Default). The computer restarts and the hard disk will be available again.
4
After the display in the BIOS the hard drive will need to refresh information about connected devices in the operating system. Turn on the computer and wait for Windows to load. Click on "My computer, right-click. Click "Properties". Then go to "device Manager". Click on the line that displays the name of your system. This is the computer name that was specified when Windows was installed. Simply put, this is the top row, click the right mouse button and select "scan for hardware changes". The system will scan connected devices and the hard disk will be available for use.