You will need
- - Computer with Windows.
Instruction
1
Turn on the computer and immediately after that click on the keyboard button Del. So you get into the BIOS menu, in which select from the Main menu. It has information about all connected to the motherboard major devices.
2
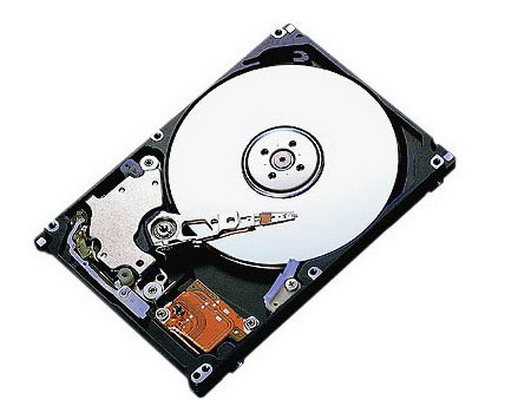
Look for hard disk in BIOS you need depending on the interface connection, how it is equipped. If your hard drive is equipped with interface IDE, then look for it in the sections Primary IDE Master and Secondary IDE Master. If the system sees the hard drive, next to the line displays information about the hard disk model, manufacturer and capacity of the hard drive. Selecting this key and pressing Enter, you will see more details about the hard disk. If the system does not see the connected hard drive, the opposite will be the label for Not detected.
3
If you have a hard drive with a SATA connection interface, is to search, respectively, have opposite points of SATA. For example, you have connected the hard drive to the second SATA connector on the motherboard. Therefore, information about it should be next to SATA 2. To view additional information you must also select this section and press Enter. As in the previous case, if the system does not recognize the connected device, you will see Not detected.
4
The system should recognize your hard disks immediately after they connect. If you have connected the hard drive and the system BIOS could not see him, there may be several reasons. Perhaps there is a train connection. Then you need to check it out and reinserted. Could also be that the loop connection has failed, then you need to try another. It may also happen that you forgot to connect power to the hard drive. We should not exclude breakage of the connection interface on the motherboard. You should try to connect the drive to a different interface. The surest way to check the hard drive for serviceability - connect to another computer.
