You will need
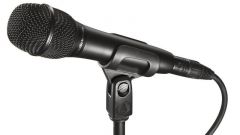
- Personal computer, Microphone
Instruction
1
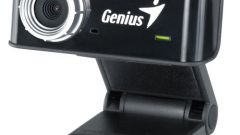
To install a webcam on your computer, it is necessary to connect using the connector and download the software that will be included. After installation of the software should all work. But there can be problems. After you have installed the webcam, try to test the sound.
2
First go to "start". Select "control Panel". There you will find an icon called "Sounds and audio devices". Open it.
3
The voice options should be set as “realtek hd audio output”. In the same view and microphone settings. If something is not, then reinstall the driver. Delete old and upload new.
4
If you plan to use Skype, check there that it is set to microphone. Built-in webcam microphone always gives some failures. If you have the camera driver, try to configure the microphone. In the case where none of the above helps, it is necessary to run Skype through UVC driver.
5
When you connect your webcam, download to it driver. Next, you should see a camera icon in a folder "My computer". Open this icon and you will see a list of settings. Select everything that is connected with sound, and click "Insert".
6
Configure sound in the program, which communicate via microphone. Set the volume dynamics. When you run Skype you will see the welcome window. We will have to set the settings headset and web camera. Click on "Test sound". Should open three tabs in which you check and configure the device.
7
Can try to go to "device Manager". There view, not set by any chance an exclamation point on the tab "Host controllere tyres. Get him.
Note
Installing drivers for the microphones on the computer. In General, there are many websites and online forums, where experienced users give advice regarding the search for a suitable driver for the microphone. If necessary, each newcomer can turn to a professional programmer who will tell you what the driver for the microphone must be installed.
Useful advice
Many users who put Windows XP on my laptop complaining about the problem with the microphone. The problem is that the microphone volume is very small and the sides simply do not hear. Click on the Effects... button and select ClearType in the box. Here, perhaps, all If you have something does not work, try these drivers for the sound