You will need
- Adobe Photoshop CS 2 or higher.
Instruction
1
Open original image in Adobe Photoshop. To do this, click the menu "File" –> "Open". Find your image and double-click it. You can also drag a photo directly with the mouse in the workspace of the program.

2
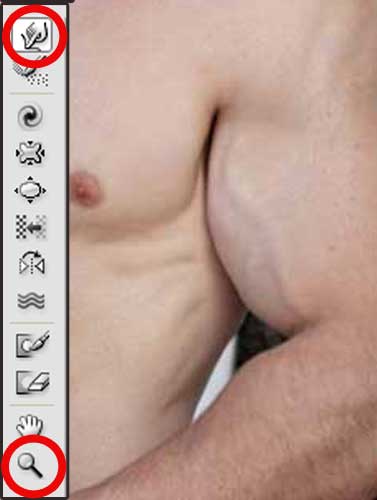
To increase muscles in Photoshop is comfortable with the filter of "Plastic". Find it in the menu "Filter" and open. Actually, it's not just a filter is a program that allows you to modify images in a certain way: stretching and deforming the elements of the illustration. To start zoom in with Loupe tool. Then take the smudge tool and use it to start building up the muscle volume. To do this, move the "Finger" to the border of the muscle, click the left mouse button and gently slide the border. To properly and reliably conduct such an operation, you need either a good understanding of anatomy, or to have a sample of how to look big muscles.
Once you are done, and the result will suit you, accept the changes (OK button).
Once you are done, and the result will suit you, accept the changes (OK button).
3
To top it off, you can slightly lighten some areas of muscles and the relief of the folds a little to darken. Professional photographers and artists know that the lighter area on the image so it appears closer, and Vice versa. Take advantage of this principle. Slightly darken the shadows and vysvetlit glare. It's easy to do, for example, use the tools "burn" and "Dodge" that you can find on the toolbar of Photoshop.

4
Save your finished image. In the menu "File" click "Save as" or "Save for web and devices". Be careful: if you click just "Save", you will lose original image, because the program will replace it with a new one.
Useful advice
Note: using the liquify filter, you can increase and make smaller any body part or object.