
You will need
- - Adobe Photoshop;
- file with the source image.
Instruction
1
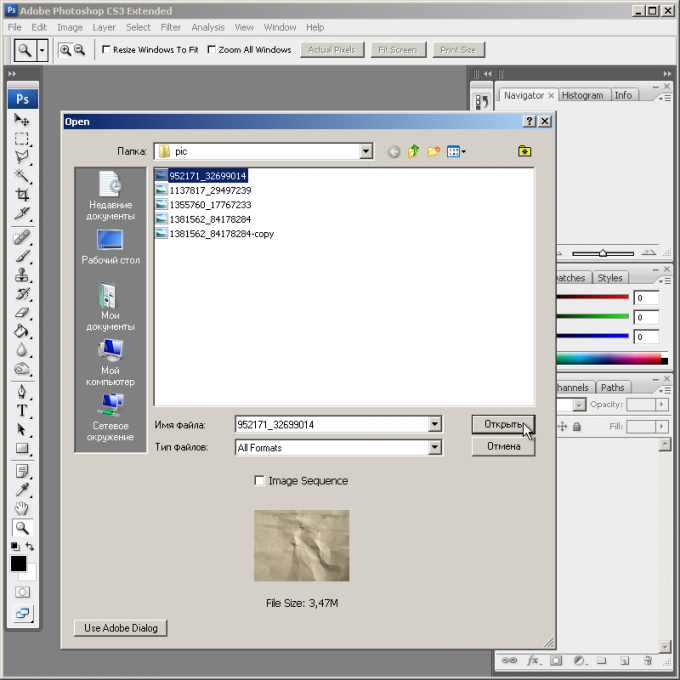
Open the image on which you want to remove creases, in Adobe Photoshop. Use Ctrl+O or select "Open..." File section of the main menu. Open dialog to specify the file containing the image, then click "Open".
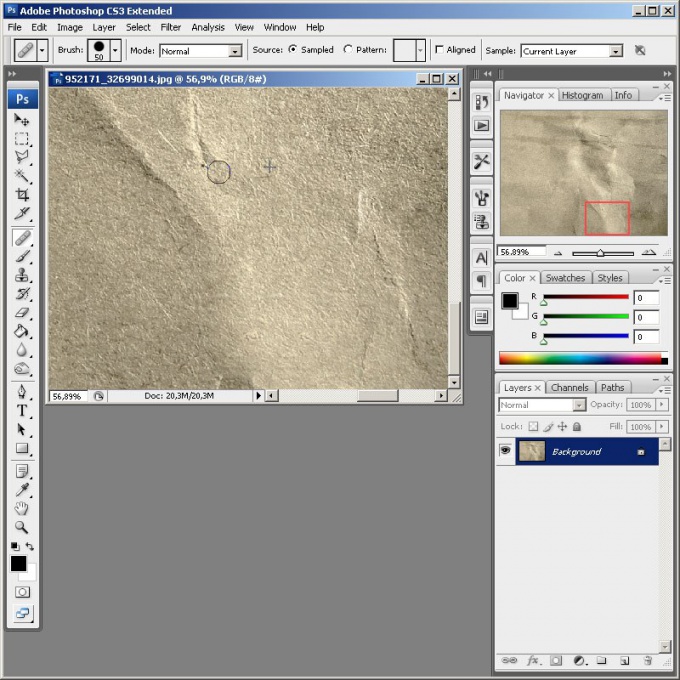
2
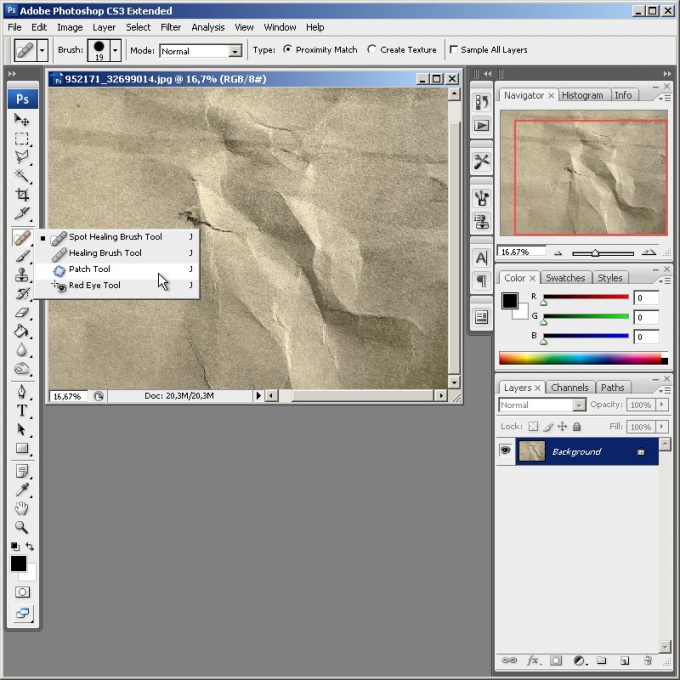
Begin to remove large folds, situated on a plain background. Select one of them. Using the tool Zoom Tool set magnification, allowing you to easily work with a selected portion of an image. Activate tool the Patch Tool.
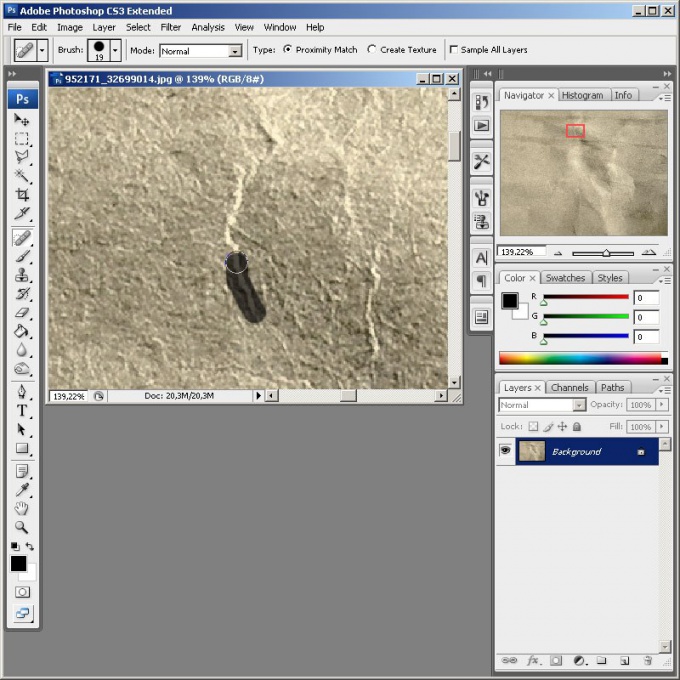
3
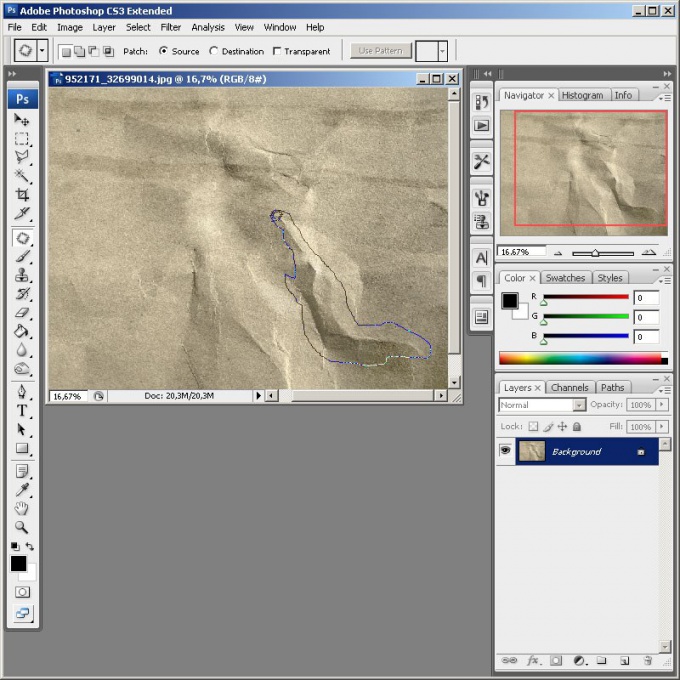
Start using the tool the Patch Tool. Hold down the left button and drag the mouse cursor image removed folds. Appears the selection area.
4
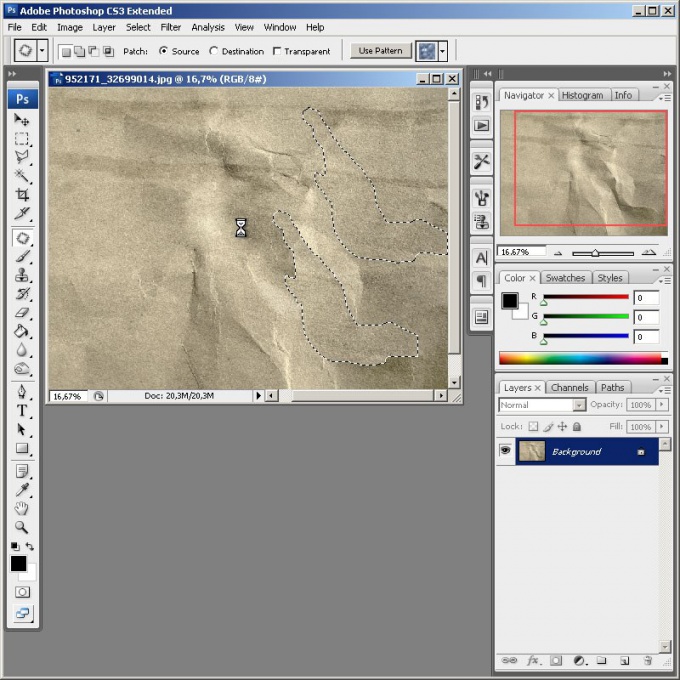
Remove the crease. Move the mouse the selected area to the portion of the image having a background similar in color and structure, however, marred by the crease. In the process of moving, you can see the contents, fill the source area. After drag will be made "smart" correcting allocation based on the sample background. Repeat steps 2-4 for all the major folds.
5
Start the removal of smaller folds. Install a convenient magnification. Activate the Healing Brush tool Tool (it allows to correct arbitrary image fragments on the basis of sample background in the manner of brush painting). Click on the control Brush in the top panel. Select the brush size and density.

6
Remove creases using the Healing Brush Tool. Press the Alt key. Click image close to the region occupied by the crease. Release the Alt key. Hold down the left button of the mouse brush over the crease. If necessary, repeat this step to achieve a satisfactory result. If necessary, adjust the position of the marker of the source of the background in the process of correcting the defect.
7
Small and thin pleats get tool Spot Healing Brush Tool. Sample background for correcting defects he takes directly from the correction area. Activate this tool. Select the brush with the appropriate settings. Then just swipe it on the crease once or several times.
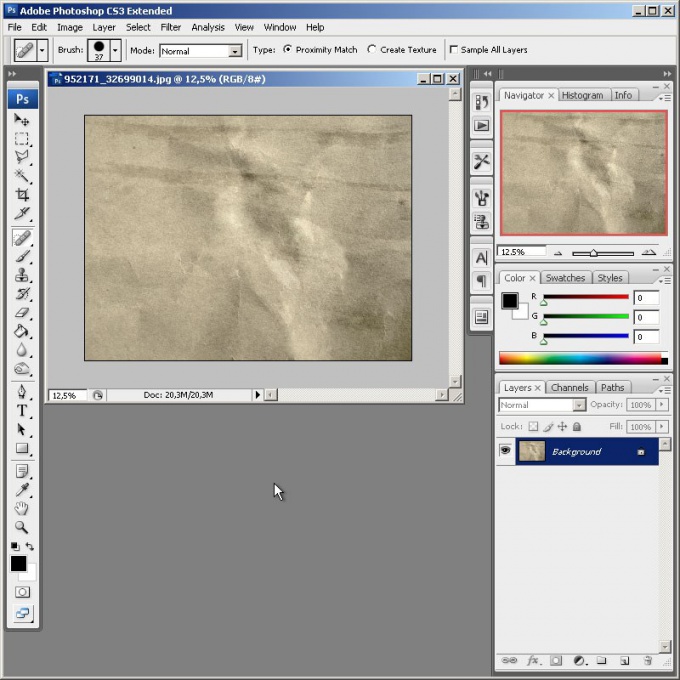
8
Evaluate the results. Browse the whole image and at multiple scales. If necessary, modify the individual pieces, by steps 2-7.
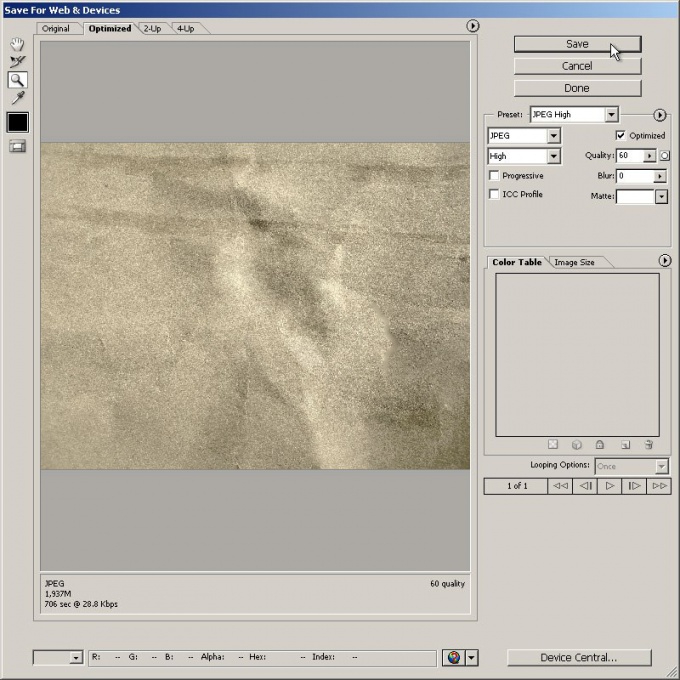
9
Save the modified image. Select "Save As..." or "Save for Web & Devices..." section in the File main menu.
Useful advice
The selection used when running the Patch Tool, you can create in any convenient way, and not just this tool.