Instruction
1
If you have just installed Skype and launched the program, you will see the screen check headphones, speakers, microphone and video. Plug your headphones into the connector. Under "Speakers – do you hear the test sound?" click on "Speakers (Realtek High Definition Audio)". If you hear in the headphones test sound Skype, then everything is connected properly.
2
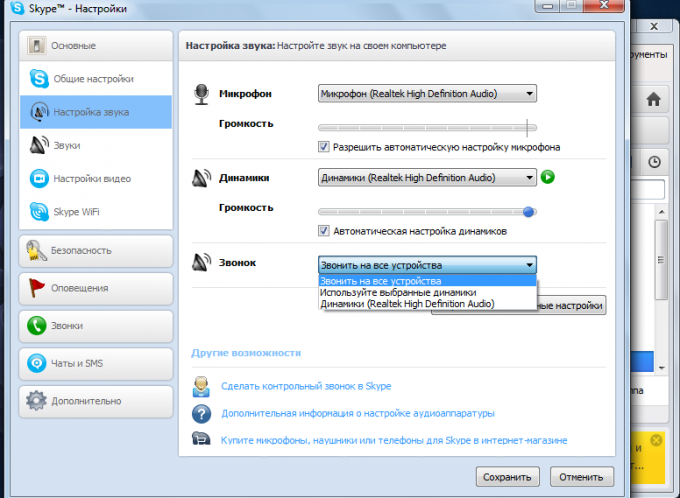
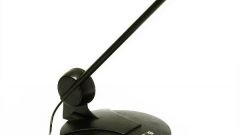
The second setting option headphones Skype via the top menu. In the main window go to "Tools" - "Settings" - "audio setup". First check the configuration of your microphone, click "Microphone (Realtek High Definition Audio)". By default, it is already exposed. If you set it up on the laptop, it is most often located at the top of the screen, near the camera. In a standard PC microphone can be either in a headset with headphones, or a webcam. Select from the dropdown list in the button "Microphone".

3
Speak any phrase into the microphone. If you see a green bar moving from left to right, then the microphone is working fine.
4
Then go to the "Dynamics". In Skype the same button configured headphones (when connected). The string "Automatic speaker setup" must be checked. Click on the green icon "Play" next to "Dynamics". If you see that the scale of sound responds and you hear the test sound in Skype, then your headphones are configured correctly.
5
If the test sound is not heard, try selecting a different item in the drop-down list buttons "Dynamics". Make sure you check those headphones that is currently connected, also make sure the correct connector they are connected.
6
For the final sound check make test call in Skype. To do this, open the menu "sound settings", section "Other ways" - "to Make a Skype test call".


