You will need
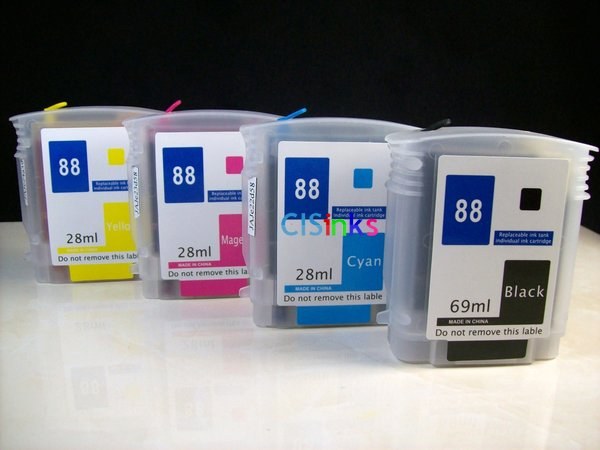
- cartridge;
- ink;
- - a 20 CC syringe;
- - 2 needles – sharp and blunt;
- knife;
- - an old towel or cloth.
Instruction
1
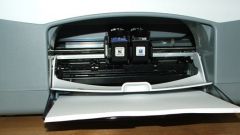
First, remove the need of filling the ink cartridge from printer and place it on a napkin or towel. Then at the bottom of the cartridge, locate the seam, which is sealed with a protective sticker. Take a knife and carefully cut the sticker by the seam, to open access to the filling hole.
2
Now you need to remove a rubber ball that protects the cartridge from drying and leakage of ink, as well as from ingress of debris. Take an awl or a needle and by gently pulling the bulb, put it on a napkin. Ensure it's not lost.
3
Reinstall the toner cartridge exactly. Put a blunt needle on the syringe and draw 20 ml required for refilling ink. Insert the syringe into the hole of the cartridge to a depth of about 1 cm, and gently pressing the plunger, inject ink into the container. The appearance of ink into the filling hole, take about 1 ml back into the syringe, as there will be foam.
4
After filling carefully reinstall the previously removed rubber ball. Then check whether flow of the ink cartridge, blot it filling the hole down on a towel or napkin.
5
Next, you need to remove air from the ink bag. To do this, place the cartridge so that its outlet was at the top. Then put on the syringe sharp needle and dip its end into the hole vertically, to a depth of 1 cm will Push the needle into the rubber ball of the pump and remove the air in the syringe. Take the needle, put down the pillow and he closed the lid of the cartridge, install it back into the printer.
Note
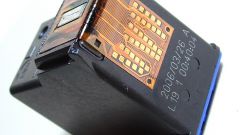
Many cartridges are fitted with a special chip that count the ink. After refilling the cartridge will not be perceived this chip as new, so the printer will show that it is empty.
Useful advice
If the cartridges were carried out more than once, check the condition of the rubber ball. It can lose elasticity and can no longer fulfil its protective function as efficiently as before.


