Instruction
1
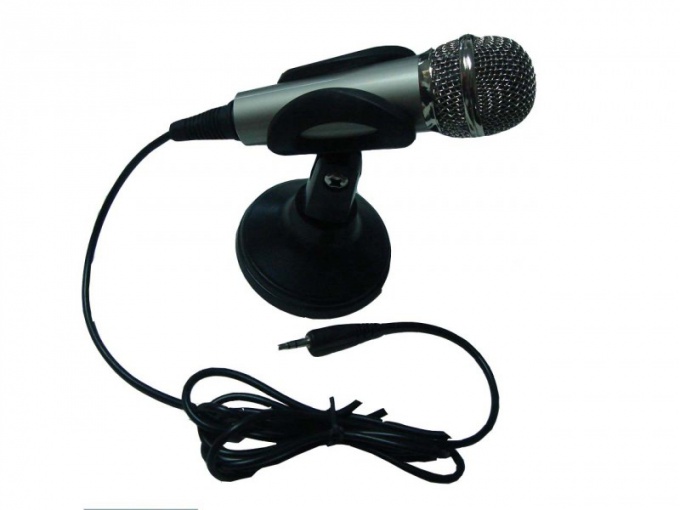
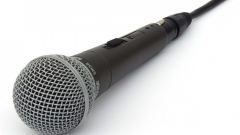
The microphone connection to the computer is performed using an appropriate socket on your sound card located inside the case. Any modern PC or laptop has two or three holes for mounting devices to work with audio. Usually sockets to connect speakers and microphones are located on the rear panel of the computer or on the side of the laptop. Also some desktop systems allow you to connect the device through the front panel of the computer, which in turn is connected with the sound card.
2
Connector for a microphone is usually colored in a pinkish hue, and on some panels the socket marked with a special icon. Insert the microphone plug into this connector.
3
To verify the device after the installation of the plug into the socket, open the menu "Sound". To do this go to "start" - "control Panel" - "Hardware and sound" - "Sound". In the window that appears, select the "Recording" tab Is Microphone. Click "Properties".
4
Go to the "Levels" and adjust the desired settings. To increase microphone volume move the slider to the "Microphone" to the right. To enhance the sound, you can also use the "microphone boost".
5
To check the quality of the sound recording device, in the same window select the tab "Listen". Connect your speakers and headphones to the computer and check the section "listen to this device". Click "OK".
6
Some modern computer microphones are connected to the USB connector. Insert the plug of the device into the computer and install the driver that is supposed to come with a microphone included. If there is no disc, download the drivers by going to the manufacturer website of your device and selecting the relevant section in the menu resource.
Note
If the microphone is not working, check the connection to the computer connector and read the cable device for damage.
