Instruction
1
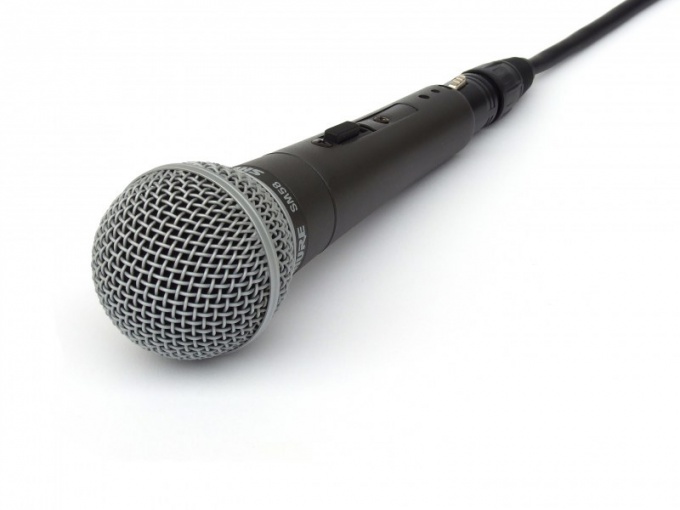
Connect microphone to computer karaoke, inserting its output into the corresponding connector on the system unit. If the connectors are different colors, remember that the microphoneconnector tion is painted in pink color. If karaoke are also headphones, they plug into the green connector.
2
Click the left mouse button on the speaker icon in the system tray (right part of the taskbar, near the clock). A window will appear in the mixer by adjusting the volume of computer speakers. Click on the speaker icon located above the volume scale to open the window "Properties: dynamics," in which you will need to configure the MIC karaoke.
3
Go to the window "Levels". If the microphone connected to the karaoke was right, then at the bottom you will see a line settings. Look at the speaker icon next to the button "Balance", if it is drawn red crossed circle, it means that the microphone is currently disabled on the system.
4
Click on this icon to activate the function. The volume mixer adjust the volume of microphone. This method enable the microphoneand described for those who have installed the Windows 7 operating system. If you have an earlier version, the procedure will be slightly different.
5
Turn on plug the microphoneand karaoke in connector of the sound card on the system unit. Click "start" on the taskbar and select "control Panel". Scroll to the "Sound and audio devices", then click on its icon twice with your left mouse button.
6
In the window that opens, click the tab "Speech" and click on the "Volume". Select "Settings" - "Properties". Below is a list of the various connected devices. Find the words "Microphone" and put a tick next to it. Click "OK".
7
Install on a personal computer, a special program for karaoke. Run it and set the microphonethat was connected. Start the song and try out the microphone in action.