You will need
- - the Internet.
Instruction
1
Open Adobe Photoshop and create a new project using main menu, point to New. The best time is right to set the desired image size (in pixels or centimeters), as well as other parameters. Usually, the default project can be set automatically with standard dimensions.
2
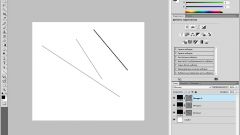
Carefully review the drawing tools in the left panel. Third from the top block contains the elements "Pen" and "Geometric figure", and that will help in the difficult task of drawing. Draw a line with a pen, creating a new layer. Move the line to the desired location using the instrument from the first block. Many operations are carried out using the mouse of the computer, so carefully move the cursor.
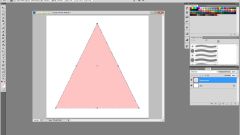
3
Activate the tool "Geometric shapes". Choose the type of element and its form. Click on the area of your image and drag the shape to the required size. Please note on the words Shape — there you will find the most common complex shapes such as heart, envelope, arrow and other.
4
If the figure is not the way you wanted, then move it using the appropriate tool from the first block. Please note that you can set the desired location to hundredths of a pixel, if you check the Show Bounding Box and then selecting one of the contour points.
5
The Adobe Photoshop has a variety of opportunities and different tools. It is enough to study the built-in help using the program, and you will be able to create a good image or to adjust existing ones. As a rule, in the Internet there are many free courses available to learn how to work in graphic editors.