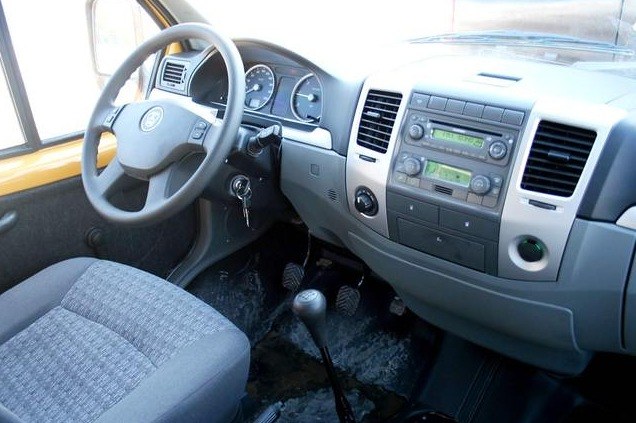
You will need
- - instructions to receiver;
- is the needle file or knife;
- - screwdriver.
Instruction
1
Start the installation with frame removal. Please note that the cover of the radio removed, after the frame. Otherwise be broken both parts.
2
Remove the frame without the use of excessive physical force and hands only. Not poddebice with a screwdriver or other tool because of the risk to break the fragile part. Removing the middle part of the frame under the unit climate control go to the bottom. Pull out the Cup holders and pull out the frame entirely.
3
Prepare a needle file to handle the installation place of the radio in the cabin. Initially it has a slightly rounded shape of the corners, which prevents the installation of non-standard receiver, for which you might want to handle the installation. You usually have to use a needle file to get the right angles. Work with needle files slowly, periodically trying on the radio. Processing needs to be done, when a new radio without resistance will go into the mounting hole of the cabin.
4
Pull the bundle of wires, which can be found under the climate control. If audio training have already been carried out earlier at the plant, further actions must be agreed only with the statement to the unit because the internal wiring is already prepared and only need to connect the wires in the prescribed manner, focusing on color and type of connectors.
5
If the machine is not prepared, guided by the color of the wires. The black wire will need to deduce the "-" battery terminal, and the yellow and red wires are usually used for "+". The remaining wires should be speaker. This again will help the user manual for the installed receiver, which prescribes the color of the wires for different speakers as well as the order of their accession.
6
Unscrew the screws to remove the pad and the piston. Attach the speaker with the help of special wires attached to the terminals. Turn on the radio and check the sound. If positive, repeat the process with all remaining speakers.
