You will need
- Adobe Photoshop, photography.
Instruction
1
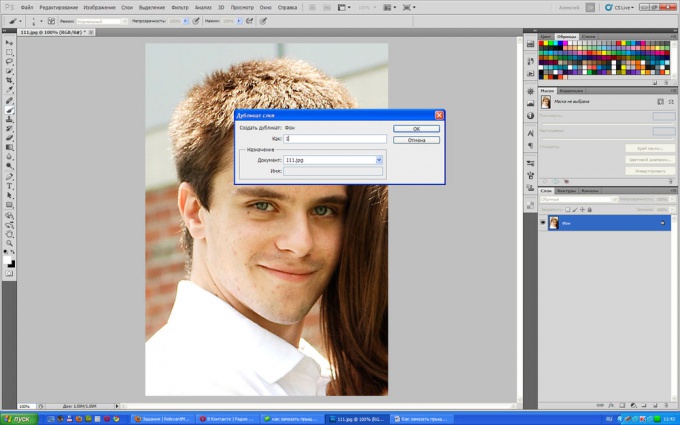
Open the photo using Adobe Photoshop. Create a copy of layer: click the layer "background, right-click and select in the popup menu select duplicate layer . Before you encounter the window. In this window in the field "as write "1 . Will work with this layer in order to compare with the original.
2
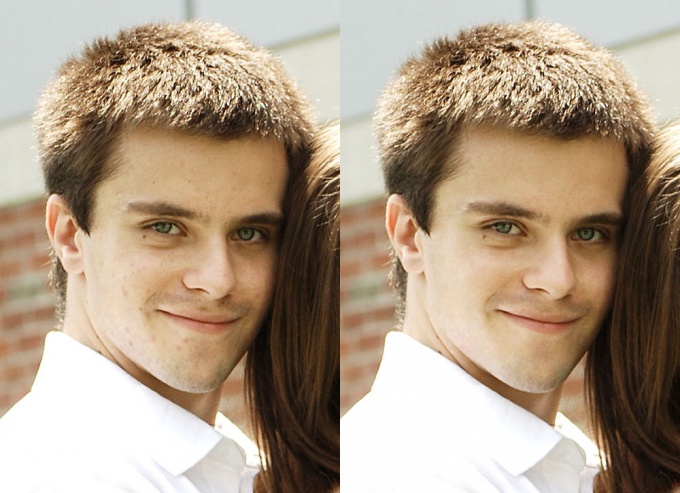
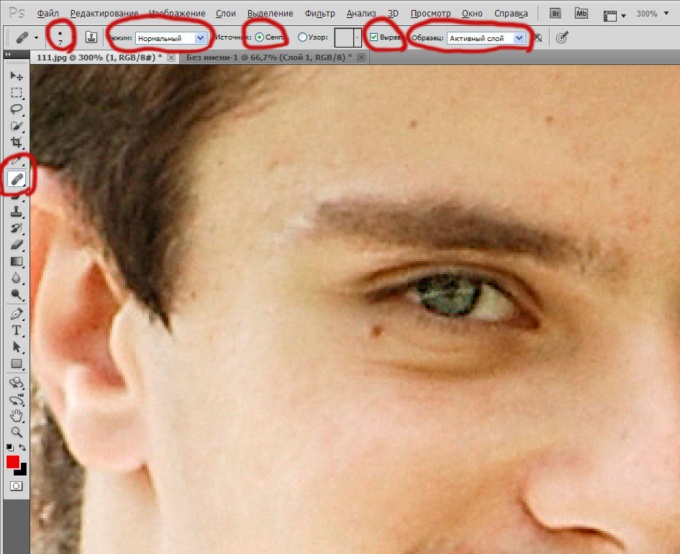
Now let's cut to the chase. We need a tool, healing brush . Select a small brush size, overlap mode is "normal , source check sample , check the alignment, the sample will expose the active layer . Now find a clean area on the skin next to remove the zit, hold down Alt and click the mouse. The brush took a skin sample. Now you can release Alt and as a regular brush start to paint over the pimple. It needs to disappear. Now move on to the next. As often as possible take a skin sample using the "Alt to the face in the end looked natural. On the sample you see that the young man cleared the whole cheek. This work is quite monotonous and long. But you'll soon the hang of it, and in a few minutes will allow the skin in order.
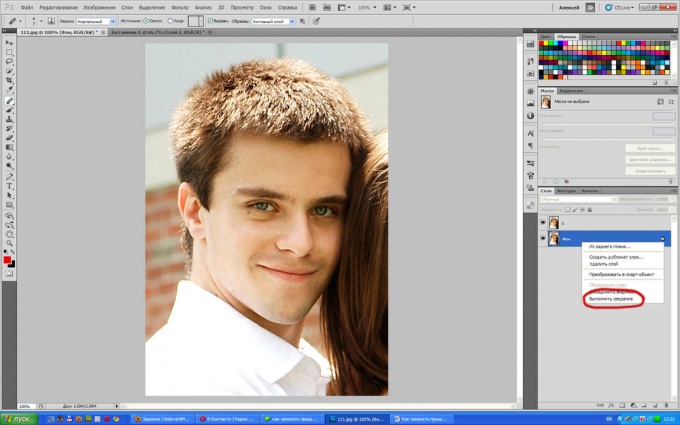
3
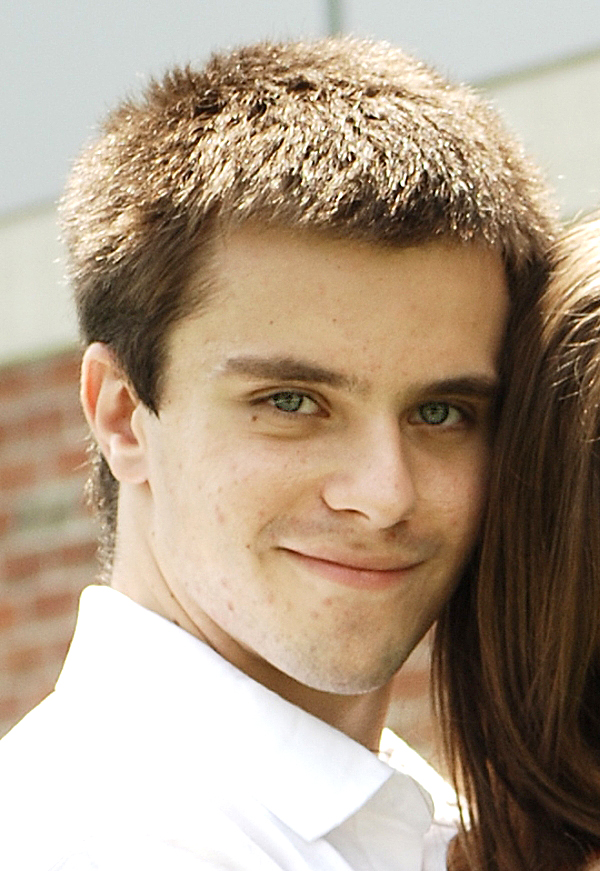
When you peel all over the face, turn off the layer by clicking the eye. You will find that it was before treatment. Turn on the layer and you will see the result. Are you satisfied? Great! Click on the bottom layer, right-click and select flatten . Now both layers have merged and consolidated.
4
Save the image and enjoy. Now acne not spoil you everyday life, in photos you and your friends will look great.