You will need
- — wide flat screwdriver;
- — a plastic card.
Instruction
1
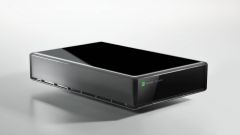
Examine the housing of your portable hard disk for fasteners. They can also be concealed with special plugs, in order not to spoil the appearance of the device. Unscrew them. If the casing of your hard disk is bonded by means of conventional latches, find their location, push down on both sides and pry with a flat head screwdriver or plastic card, depending on the density of the material from which it is made.
2
If the hard drive enclosure is glued at the edges, install a flat head screwdriver at the junction of the walls of the housing and lightly tap her arm. Then pry out the half-open case with plastic card and spend it on the perimeter of the entire hard disk. It is best not to do it, because you can easily damage the internal elements of the device.
3
If the drive enclosure is performed without joints, and you can't find the connection of its walls, look closely at the side wall of the disk, most likely, the fasteners are under the special plugs. Once you Unscrew all the screws holding the drive casing, gently push it with one hand.
4
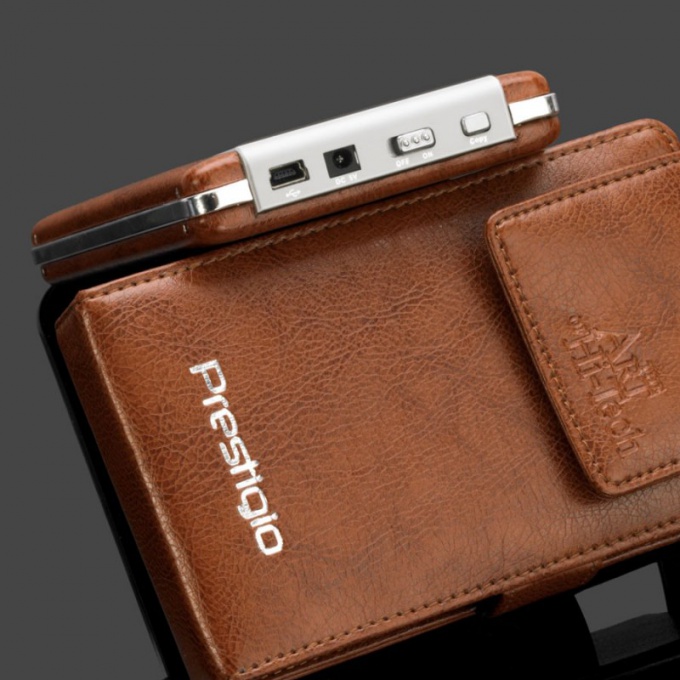
Disconnect from disk drive charge, gently pulling on himself. Please make sure that they are not connected by means of fastening bolts. Disable the led that shows disk activity. Further disassembly of the hard disk is not recommended because it requires special conditions.
5
Do not disassemble it by yourself even if you have special skills to work with these devices, not untwist the cap bolts to the disk device, to prevent the ingress of foreign objects or even dust. In the event of a malfunction, immediately bring it to the service center.
Useful advice
Do not disassemble a hard drive that is under warranty.