You will need
- - screwdriver.
Instruction
1
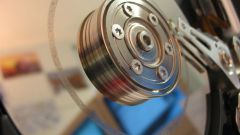
Carefully inspect the housing of the hard disk. Remove the protective elastic bands, if any. Prepare a few plastic cards (which are not afraid to break) and a flathead screwdriver. Typically, the hard drive models may differ slightly in the Assembly, so prepare a couple of screwdrivers with different diameter.
2
Carefully insert the corner of a plastic card in the slot on the housing. Slightly move the card to gap went the entire edge of the card. Now slightly push the card in to expand the gap. Repeat this procedure for the other side of the housing. If you are prompted, insert the two cards at the same time to loosen the mount from opposite sides.
3
Expand the crack until until you hear a snap in this moment will release the internal latch, hidden in the body. Disconnect the latch from all sides. You can now remove the plastic cards. Try to perform these procedures carefully because you can damage the entire body, as well as the inside.
4
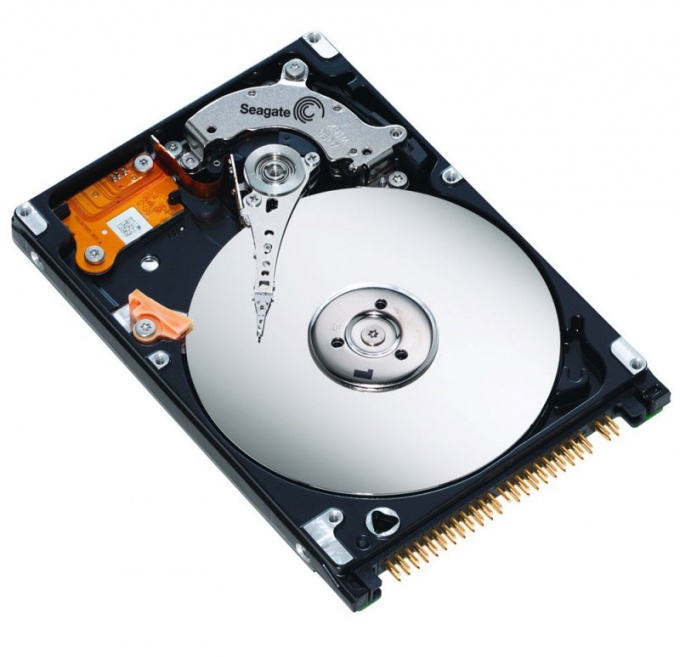
Open the casing with a screwdriver. Remove the hard drive, after disconnecting the fan (if present) and the connectors of the controller. If you didn't break the latches, the drive can be easily assembled back.
5
Proceed carefully, as any sign of damage to the hull external hard drive, even a small scratch will be the mechanical damage and you will lose warranty for the device. Not worth it without special needs to dismantle the external hard drive. As practice shows, the majority of disassembled hard drives do not work in the Assembly, since it gets various dust, or simply twisted the wrong bolts. Try to use for dismantling of unnecessary parts.