You will need
- wick;
- - flint;
- - clean cloth (fleece);
- - small tweezers;
- - a bottle of fuel.
Instruction
1
Prepare the necessary repair materials and tools. You can't do without tweezers or small pliers manicure. Depending on the type of fault you may need a new flint, wick and bottle of lighter fluid. The place where you plan to repair, remove foreign objects and cover a sheet of paper or newspaper. Take care of good local coverage (case right table lamp).
2
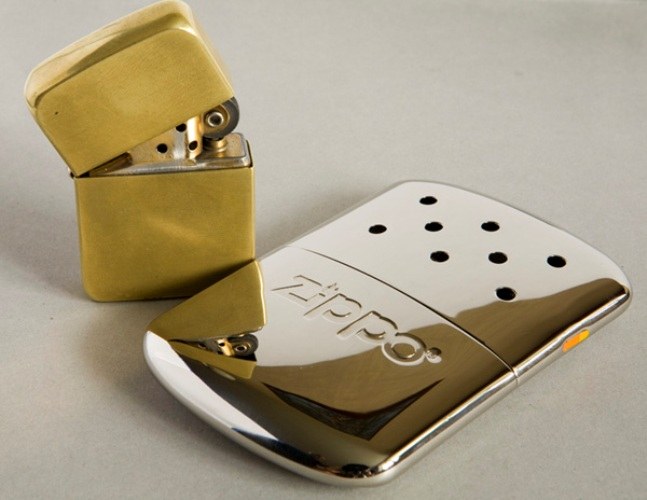
Take the lighter and unplug the decorative insert body. Put the body to the side, pre-wiping it with a clean cotton swab or cloth.
3
Flip the bottom insert up. Here you can see the felt lining. Lift it with tweezers and inspect the filler beneath it. If the lighter doesn't work due to the lack of fuel, take the bottle with special petrol for lighters, push the tip under the gasket and impregnate the filler with the mixture.
4
To replace your broken or worn out flint for a start, remove the retaining screw. Disconnect the gasket and the filler is not necessary. Locate the spring-retainer and remove it. Inspect the nest and if necessary, clean it from dirt. Insert the prepared to replace the flint in a nest, using the provided tweezers.
5
If the repair requires a replacement wick, and perform a full disassembly of the lighter. Unscrew the fasteners with a spring which presses a felt pad. With tweezers, remove the filler. Then inset the tip of the old wick and pull him from his seat. Take a new fuse, insert at the intended place and lay the body in the form of "snake". On the reverse side will get as much wick as needed for stable operation of the lighter. Trim the tip if necessary.
6
Install in its place the filler. Attach the assembled box into the enclosure. Check out how the lighter works properly after repair. Wipe the case away from dust and dirt with a clean cotton swab.