You will need
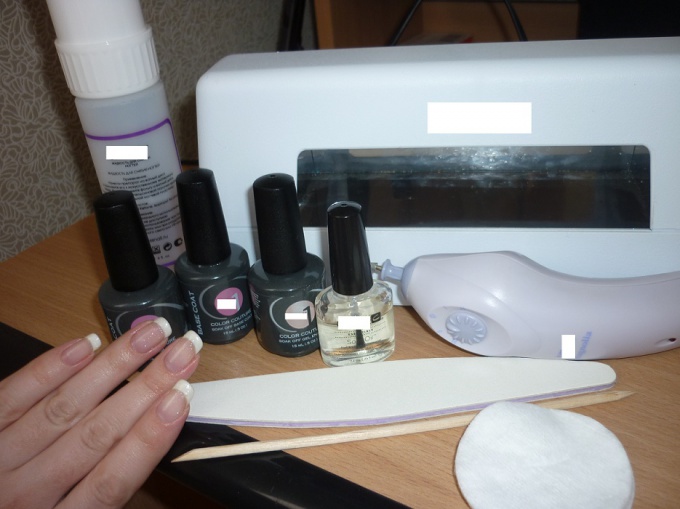
- UV lamp, orange stick, nail file, electric manicure set (you can do without it), sponges, degreaser, base color coating of shellac, top, nail adhesive layer, the cuticle oil.
Instruction
1
The treated nail. Give the nail the desired shape and length. Delete or move aside the cuticle stick. Then, you should Polish the entire nail so that it was smooth (you can use a nail file or manicure set electric).
2
When all nails are treated, degrease the nail plate for better adhesion of the nail with shellac.
3
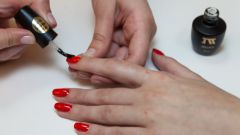
Then proceed to the direct application of shellac. I applied a base in one thin layer, dried in the UV lamp for 1 minute. If excess gets on the skin around the nail, then remove the wand before drying in the lamp.
4
Then cover the colored shellac in 2 layers, each dried for 2 minutes.
5
And the last step in applying color coating covered the top in 1 layer and dried for 3 minutes.
6
After the top has dried, the nail remains sticky, it is necessary to take the sponge and it cause the liquid to remove the sticky layer and just wipe the nail. The coating will become more glossy.
7
The last stage of the process. Lubricating oil all the skin around the nail first, it will support your marigolds and second nails will be more healthy.
Note
Some manufacturers of degreaser and liquid to remove the sticky layer are both 2 in 1, very convenient for those that don't need to buy two tools.
It is not recommended to do a Spa manicure before applying shellac because the nail is saturated with moisture and in the future, the shellac may deviate from the nail in the early days.
It is not recommended to do a Spa manicure before applying shellac because the nail is saturated with moisture and in the future, the shellac may deviate from the nail in the early days.
Useful advice
You can use the LED lamp, the difference with the UV lamp only in the fact that in the first each layer enough drying for 30 sec.

