You will need
- For the light-cones:
- plastic bottle 5 l;
- - disposable spoon;
- - super-glue;
- - the knife.
- For the lamp from the paper:
- paper lamp ball;
- - tissue paper;
- - scissors;
- - double sided tape.
- For coffee lamp:
- - shade light shade;
- - PVA glue;
- - used coffee filters.
- For lamp-maker:
- - kettle
- - the drill.
Instruction
1
Lamp-bump of plastic spoons
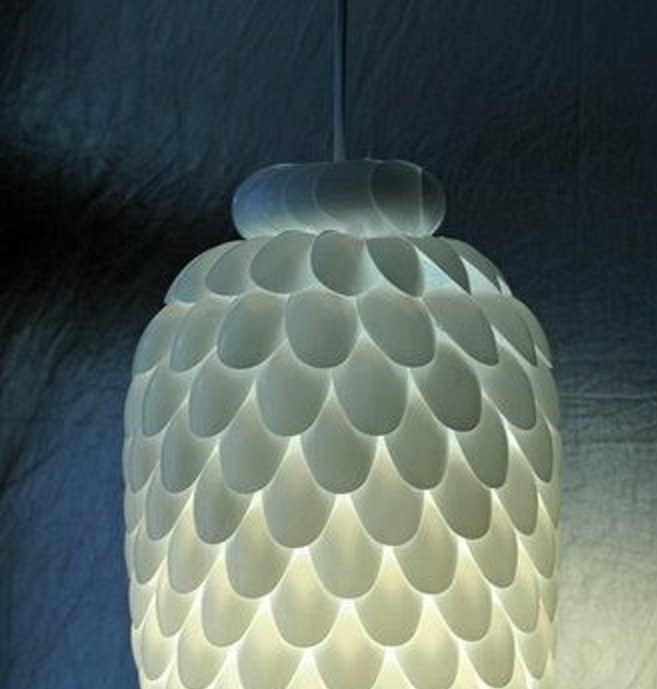
Cut the bottom of a plastic bottle, Unscrew the cap. This will be the base for the light. Cut the handles of plastic spoons. Apply on top of your spoon a drop of super glue and glue to the bottom of the bottle. Detail press and hold for a few seconds. Next spoon stick as close as possible to the first. Glue the remaining parts in the series. Tablespoons of next row, attach offset and overlap on the previous number. Try to make a plastic bottle was not visible. Similarly glue all the spoons on the base. Insert the lamp cartridge and replace the energy saving light bulb. It is not heated, so this shade melts.
Cut the bottom of a plastic bottle, Unscrew the cap. This will be the base for the light. Cut the handles of plastic spoons. Apply on top of your spoon a drop of super glue and glue to the bottom of the bottle. Detail press and hold for a few seconds. Next spoon stick as close as possible to the first. Glue the remaining parts in the series. Tablespoons of next row, attach offset and overlap on the previous number. Try to make a plastic bottle was not visible. Similarly glue all the spoons on the base. Insert the lamp cartridge and replace the energy saving light bulb. It is not heated, so this shade melts.
2
Lamp made of paper
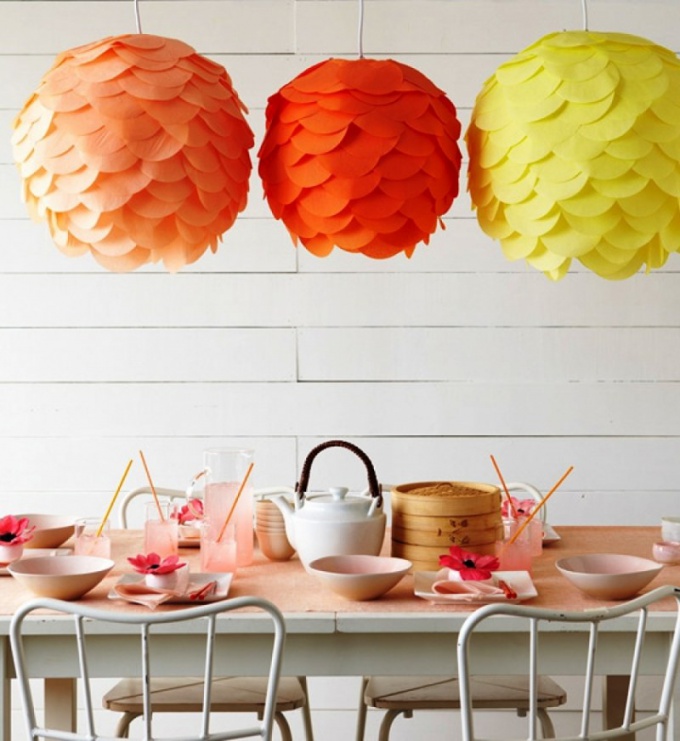
As the basis for this original chandeliers you will need a simple paper lamp sold in IKEA. Of tissue paper cut into circles of the same diameter. Glue them to the paper lamp. Attach parts of tissue paper a piece of double-sided tape and glue to the lamp, wherein the first number of do at the bottom, and affix the subsequent lap.
As the basis for this original chandeliers you will need a simple paper lamp sold in IKEA. Of tissue paper cut into circles of the same diameter. Glue them to the paper lamp. Attach parts of tissue paper a piece of double-sided tape and glue to the lamp, wherein the first number of do at the bottom, and affix the subsequent lap.
3
Coffee lamp
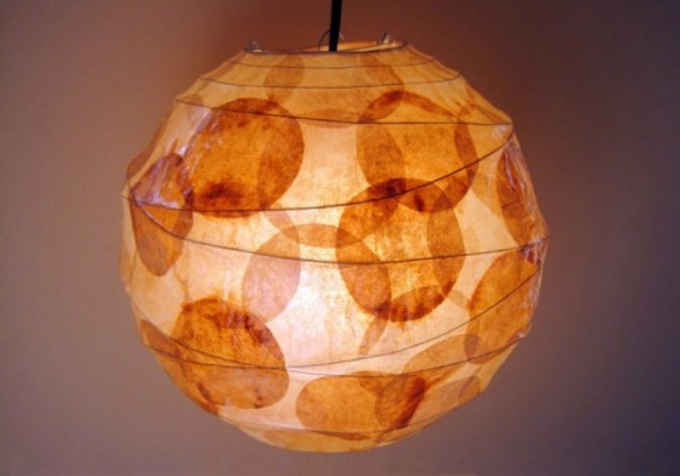
This exquisite lamp - a real godsend for coffee lovers. Invented his American designer Lampada, but it is possible to do with their hands. For its production will need coffee filters, which should be pre-washed and dried. Prepared filters stick on a lampshade with PVA glue and allow the lamp to dry. Now you can insert a cartridge, screw in energy saving light bulbs and enjoy the pleasant soft light and light fragrance drink.
This exquisite lamp - a real godsend for coffee lovers. Invented his American designer Lampada, but it is possible to do with their hands. For its production will need coffee filters, which should be pre-washed and dried. Prepared filters stick on a lampshade with PVA glue and allow the lamp to dry. Now you can insert a cartridge, screw in energy saving light bulbs and enjoy the pleasant soft light and light fragrance drink.
4
Lamp-kettle
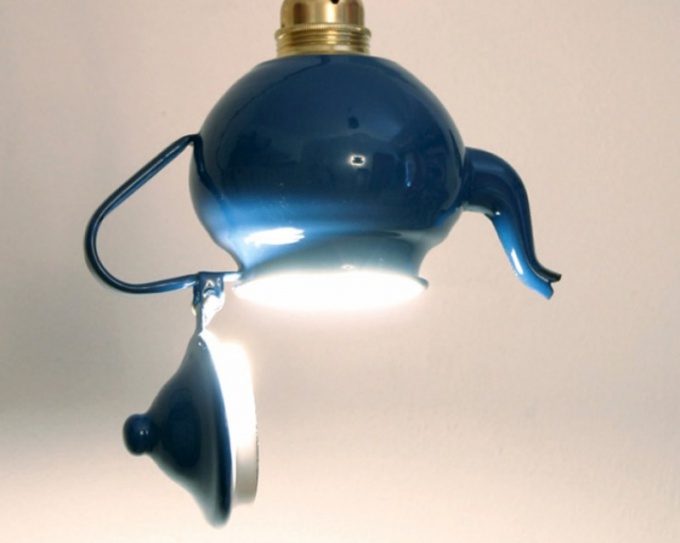
The original idea for a lamp made with your own hands, you can borrow from Italian designer Tommaso Guerra, who created a cute lamp of an ordinary kettle. Take the teapot (the easiest way to work with plastic), and make the bottom hole of the required size, to be able to insert the cartridge. To do this, use a drill with a special nozzle. If necessary, during operation, rinse it with water. Insert the cartridge and screw energy saving light bulb.
The original idea for a lamp made with your own hands, you can borrow from Italian designer Tommaso Guerra, who created a cute lamp of an ordinary kettle. Take the teapot (the easiest way to work with plastic), and make the bottom hole of the required size, to be able to insert the cartridge. To do this, use a drill with a special nozzle. If necessary, during operation, rinse it with water. Insert the cartridge and screw energy saving light bulb.
