You will need
- - aluminum wire with a diameter of 4 mm and a diameter of 1 mm;
- - pliers;
- - hacksaw;
- cartridge for electric lamps with wire;
- cutters;
- glue "Moment".
Instruction
1
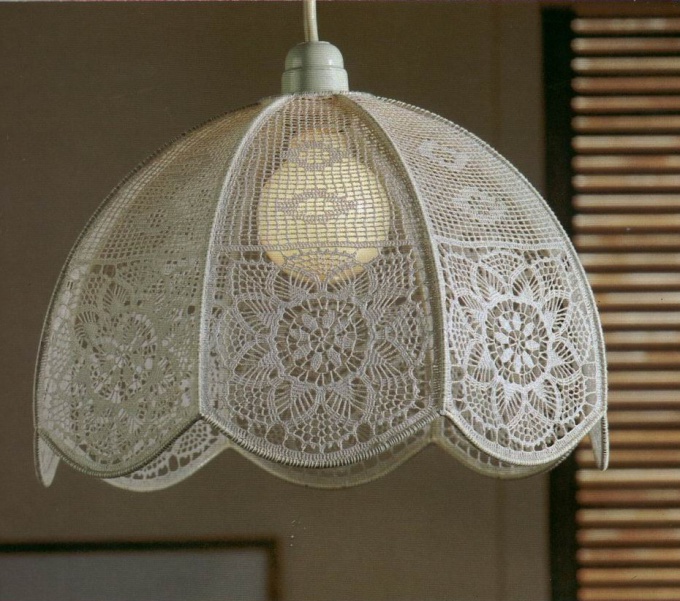
The first thing you should consider the size and shape of the lampshade will be, what material it will be made. It is best to draw a sketch of a lamp on the paper, checking the sizes of various of its components. For example, fabric shades need a rigid frame that will hold the shape. For the ceiling paper – you only need basic rings.
2
Only then can safely proceed to its manufacture. Take, for frame aluminum wire with a diameter of 4 mm. It is the thickest of all that you might need. To calculate what length you need the wire, rather just on the finished sketch. Since you already know what the diameter of the lampshade is ready, take the basis of this figure, and according to the formula of the circumference L = пD, where p = 3.14 and D is the diameter, calculate the length of the workpiece and add a few inches to connect. Cut the wire with a hacksaw on metal.
3
Lock the blank into a ring with an overlap of 5-6 cm, and then wrap the joint with wire of diameter 1 mm. Thin wire perfectly cut with wire cutters. If impregnated the connecting glue of type "Moment", it will be much stronger and more durable than a conventional tie wire. Then gently give it a conceived form, arching the blank hands. This must be done carefully to avoid injury. The top ring is made similarly.
4
Then made a side edge. They can be made by bending the wire at a pre-prepared template. Their number depends on the particular design of the manufactured lamp shade. The length of the billet side edges it is necessary to take a margin of 6 cm in each side for attachment to the main ring and the top element. Fastening side edges is carried out using a bent with pliers in the direction of the ends, length 6 cm. As in the previous case, the side of the ribs in turn attach to the primary ring over the bent tails, tight primatyvajutsja thin wire and are impregnated with glue "Moment". Similarly, a side edge attached to the top element. If the length of the limb excessive and does not allow to place all edges on a circle, then bent tails need to be shortened.
5
Now we need to secure the Chuck for light bulbs. You need to do the suspension, by bending the loop of the wire so that it holds the cartridge and it departed in opposite directions, the free ends. The suspension can be mounted over the top ring in the same manner as the side ribs.
6
Received frame with the fixed cartridge need to be covered up with fabric.
7
Once the lamp is ready, it can connect. Avoid fire, fabric lampshades, use a lamp of a power not exceeding 100 watts.