You will need
- - the writer XPS documents.
Instruction
1
Use a tool that write XPS documents to create data file using any program Windows. When printing XPS documents they have similar to their appearance on the screen. They are available to move, send email, write CDs, either through a local network in the same way as other files. They also can share, as they are available on any computer on which you installed the XPS document writer, even when there are no programs that were used to create them.
2
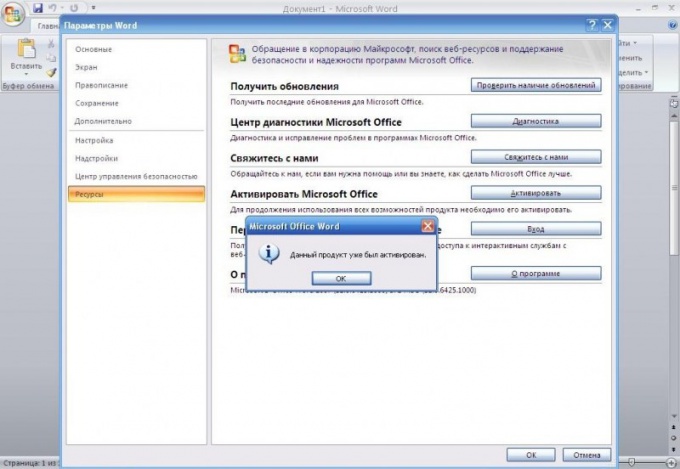
Use the recorder to document data for printing files in the format of XMS. Open the document you want to print, click "File" – "Print". This command is available in most programs. Next, in the dialog box "Print" select "Tool XPS document writer (Microsoft)" to create an XPS document.
3
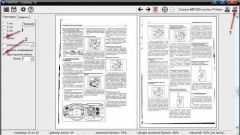
View the document before printing by using that write XPS documents. Click on the "Settings" button, select the "XPS documents", make sure that the check box next to "Automatically open XPS documents in the viewer". Then print the document. In response to the query in the opened window enter the name of the file, then navigate to the folder where you want to save the document.
4
Pay attention to the fact that the Windows operating system performs automatic data persistence of files in the folder "My documents". So if you do not select the save folder, find your file in the folder. You can then view the resulting file.
5
To do this, navigate to the folder and open it. You can also print a copy of the document on paper, send it to the printer. To avoid problems with safety, add to the document a digital signature before you send it or provide remote access.