Instruction
1
In order to distinguish original battery from fake, the first thing you notice is the hologram. Make sure it is available, and also the presence of the symbol Nokia "stretch each other hands"- one angle and the Nokia Original Accessories logo - from a different angle.
2
Now try to tilt the hologram left, right, up and down. On each side you should see the point. That is, if the battery is to twist in the hands, around the inscription on the Nokia hologram you will see on the left one, right is two, bottom three and top - four points, respectively.
3
Keep in mind that this test is not a total assurance of the authenticity of the battery. And if still you cannot confirm that your Nokia battery is genuine, do not use it and contact your nearest Nokia service point or dealer, as this may damage your device and invalidate any warranty.
4
Check the authenticity of your battery serial number on the website of the manufacturer and find out all the information you need on branded batteries at www.nokia/com/battery.
5
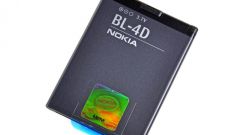
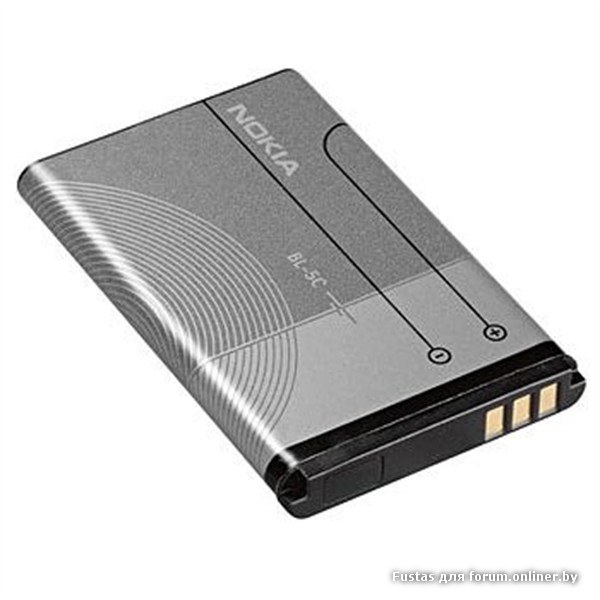
Check the connections at the battery by pressing on each contact clip. The original, they are not selling. Inspect the label on the battery - the letters should be clear, without extraneous oval, round, holographic or white questionable labels, with the exception of symbol Nokia "stretch each other hands" that shimmer.
6
There is one difference between the original battery and fake. The Nokia inscription on the hologram is parallel to the line, which shows the battery model, and fake mostly perpendicular. Also aftermarket battery heat up very quickly, like during a conversation, and during use of the device.