You will need
- - Norton Disk Editor.
Instruction
1
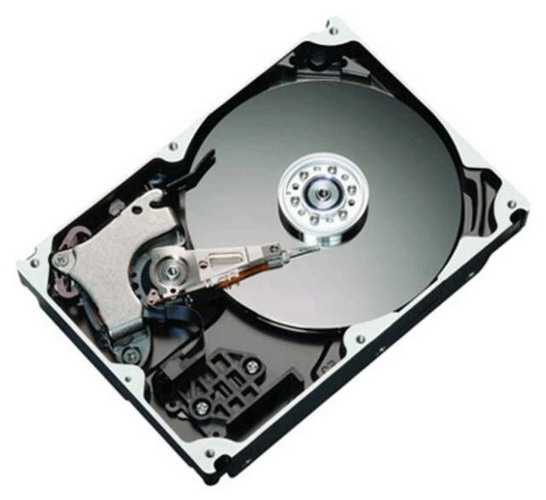
To reset the hard drive, you need Norton Disk Editor. Install it on the computer and run the program. After its launch in the upper right corner, select Object. In the ensuing menu, click on the option Drive. An additional window appears the program, which has a section Type. Note in this section the component of the Physical disc, and then click OK. The additional window will close.
2
Now in the menu, select Tools. In the opened menu, click on Configuration. Again, an additional window will appear. In this window, clear the check box Read-only. Then save the settings by pressing the bottom of the Save window. The additional window will close. A window will appear with the save notification settings. Click OK.
3
After that you will be again in the main menu. Press CTRL+B. You will see in the program window a list of sectors on the hard drive. Then on top of this window, find the row Sector. Hold down the left mouse button and start to allocate sector, starting with the first sector, which is located immediately under the row Sector. All sectors do not need to allocate (at least 65 sectors). When you finish the procedure, the number of sectors is displayed in the lower left corner of the program window.
4
After sector will be highlighted in the program menu click on the option Edit. In the appeared menu, select Fill. In the ensuing window, locate the section Dec Hex Char. Below the line is a column with values. In this column, select the value "0" and click OK. You will find that all sectors now have a value of "0". Your hard disk reset.
Note
It is important to remember that after the reset to restore the information virtually impossible.