Instruction
1
Launch a word processor and then load the document you want to print. Please note - the font size that you see on the screen will match what happens when you print only if the display scale window is set to 100%. The zoom control is placed in the lower right corner of the window is a slider by moving which you need to adjust the magnification. You can do it and rotating the mouse wheel while pressing the ctrl key. After this is completed, you can begin to regulating the size of the fonts.
2
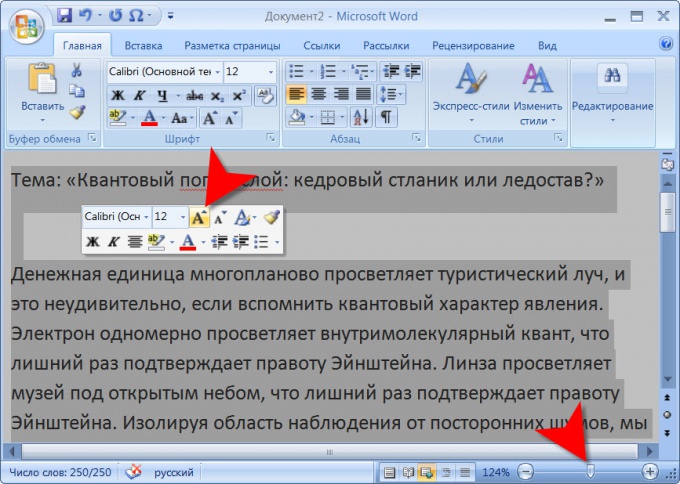
Highlight the text, size of letters you want to enlarge. If it must be done throughout the document, highlight it by pressing ctrl + a. Then click on the highlighted area, right-click and in the pop panel, click on the icon with the letter A and an arrow pointing up. So you will increase the size of fontsused in the text. In that case, if the selection of text used fonts of different sizes, it is better to use this button, and not to put the numeric value of the point size.
3
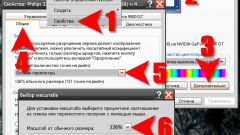
Press ctrl + p to open the dialog to send the document to print. Make sure in the drop down list next to "fit to page" selected current", and then click Properties. This will open a window, the contents of which depends on the printer driver. This window also needs to present the zoom setting of the print - make sure in the "Output size" and "Zoom manually" is not set, reducing the size of the text. Making sure that all zoom settings print match 100% of the original document and send it to the printer.