You will need
- - a set of keys;
- - screwdriver;
- technical Hairdryer;
- - washable marker;
- - masking tape.
Instruction
1
Wash the car. Remove dirt from the wheel arches and the bottom of the rapids.
2
Driving the car in the garage, position it so that you had access to the sills and bumpers.
3
Determine the plastic body parts which must be removed to install the body kit and disassemble them. For example, when setting thresholds, the front mudguard should be removed. Back they are not installed.
4
Using masking tape stick the parts of the kit as they will be located in the future on the car. Identify the mismatch of the shape of the skirts with the shape of the body. Possibly correct these defects, displacing some of the details of the skirts relative to the others. When all the details are customized, removable circle them with a marker. It can be bought in a color. The advantage of a removable marker in that it is easily erased with a dry cloth.
5
Remove the front bumper. To do this, open the hood, remove the plastic fasteners bumper, remove the mounting screws and bolts. Then go under the car and remove the bolts holding the bumper and remove the plastic retaining clips. Unscrew the screws holding the protection of the wheel arch on the bumper, and then, slightly tilting protection, loosen the bolt to the edge of the bumper. Free second side is similar. Now gently lift the top edge of the bumper from the plastic latches, guiding the bumper up myself. When removing the bumper use the help of a partner. Separating the bumper from the car, disconnect the fog lamps and Parking assistance if they are.
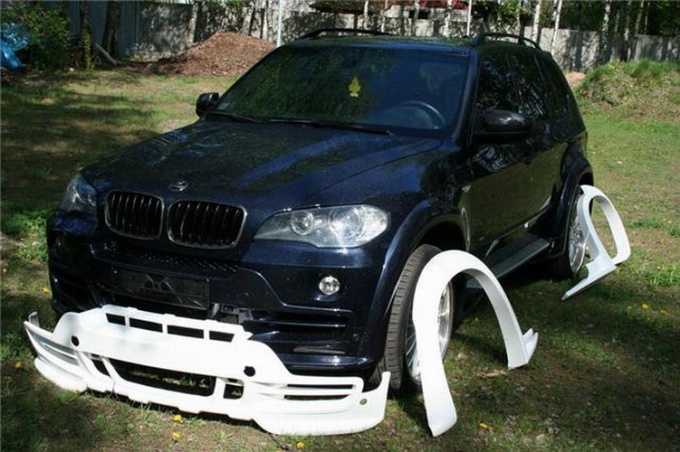
6
Place the removed bumper on a stand and pre-applied markup, attach the lip to the bumper. Mark the necessary mounting holes and a drill bit that will drill them. Separate edge protective strips of double sided tape on the upper edge of the lip and pull it to the bumper with screws and Allen key. Strongly do not over-tighten nuts, as this will not improve the reliability of fasteners, but only deform the plastic bumper and body kit and call gapping details. Be sure to lubricate the threads with grease – it will help you in the future. If necessary easy to remove the kit. Pulling the lip to the bumper nuts, remove the protective strip of tape from the top lip, pulling it over the pre-separated region. Similarly, install the rear apron.
7
To set the thresholds much simpler. Usually sill are attached to plastic clips or simply scroll by means of screws. Mark the mounting holes under the plastic clips and drill them using a drill. Align the plastic clips with mounting holes and install the threshold. From the underside tighten the threshold to the body using screws. In the same way, set the second threshold.
8
Install the front and rear bumpers fitted body kitmi.
9
Using a dry rag wipe off the applied markings.