You will need
- screwdriver, wire with small resistance, vise, lamp at 12 V.
Instruction
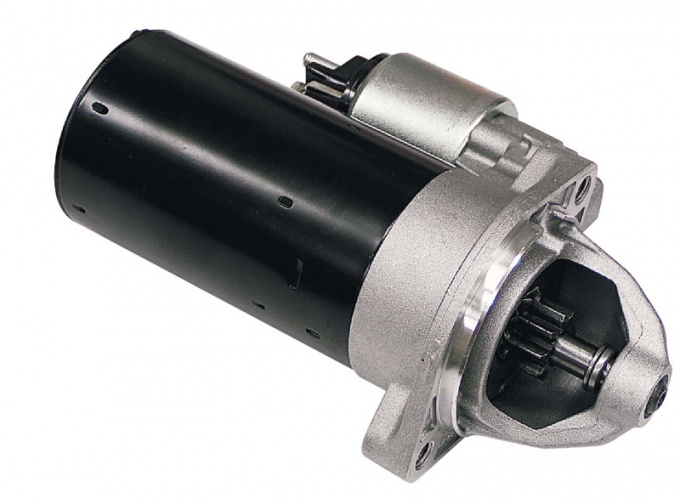
1
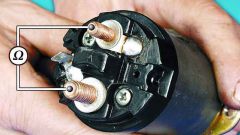
Remove starter and carefully so as not to damage the unit, clamp it in a vise. Take the two wires with small resistance (perfect wire for charging the battery pack or "booster" with clips) and attach them to the lower terminal and the housing of the starter. The wire from the case connect respectively to the positive and negative poles of the battery. If it works, it will work, starting to rotate. In this case, check and, if necessary, replace the traction relay.
2
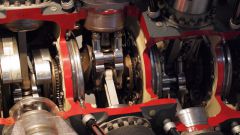
If the starter does not rotate, check the windings of the starterand its brushes. Raise uninsulated brushes, ujedinite output shunt coil insulated from the brush holder, remove the insulated brush holders by unscrewing the screws. Take the light bulb 12V on two wires and attach to the body of the starterand the coil terminal. If it is lit, the coil does not hit the ground. The starter should be connected to the battery. Check the armature for winding short circuit guide on a special stand. If the disassembly could smell burnt insulation, is not being spent on the diagnosis, install a new starter.
3
If the windings are intact, the problem lies in the brushes of the starter. The integrity check of the same light, bringing the wire to the insulated brush holder and ground. Just replace these items, and the operation of the device is normalized.
4
In that case, if the starter turns on but won't spin the engine, the problem lies in the Bendix. Remove it and install a new one. If the starter is hard traveling, and lights on dashboard and headlights prosecut, it means that the starter takes. In this case, just check all the contacts and the voltage provided by the battery. If everything is OK – remove and disassemble the starter. Probably between its parts, too much friction. To resolve this, change the bushings. It is also one of the signs of the breakdown of the windings of the starter. How to test them, described above.