You will need
- - Russified version of Adobe Photoshop CS5
Instruction
1
Run the program and create a new document by clicking "File" then "New" (or Ctrl+N), putting in the fields "Width" and "Height", for example, at 500 (other parameters leave unchanged) and press "Create".
2
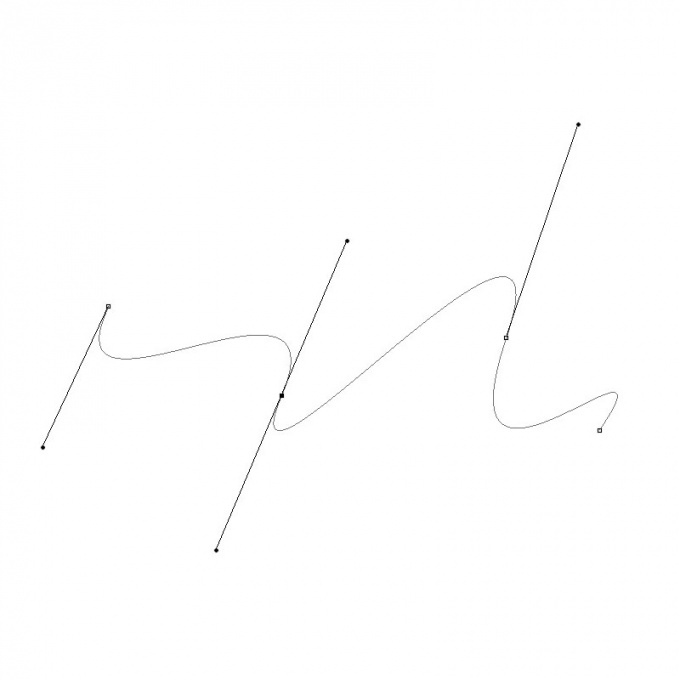
Select the Pen tool (hotkey P) and click with the left mouse button, place it on workspace two points at a small distance from each other, but enough to make a noticeable cut. Putting a second point, hold the mouse and drag it somewhere to the side. A straight line turn into a curve, and its curvature will depend on how you position the guide – line that appeared after you pulled the mouse, creating a second point.
3
Right click on the Pen in the toolbar and in the drop-down menu, select "Angle" (use this if you create a reference point then you have not created a guideline). Hold the left mouse button on the first point and drag the mouse to the side. Near the point will appear the same guide. Changing the coordinates, you can manipulate the parameters of the part of the curve, which comes from the first point. Thus, the resulting curve can be divided into two parts: one originates at the first point, the other in the second.
4
You can continue creating the curve, putting a few more points and changing them as described in the previous steps. To create a reference point inside the line, use the Pen tool+" to delete "Re–". Every drawing of you so the line will appear in the tab "Contours" of the Layers window (if it is not, press F7).
5
If you want to save the result, press Ctrl+Shift+S in the window that appears, specify the path, write the name you specify in the "files of Type" Jpeg (if you want to figure) or Psd (if you save the entire project), and click "Save".