You will need
- Beads of different colors;
- Sequins (optional);
- A thread with a Dacron or polyester to match the clothes;
- The Hoop;
- Paper;
- A thin bead needle;
- Colored and graphite pencils;
- Copy paper.
Instruction
1
Draw a sketch of the future of embroidery. First pencil mark the General contours, then the different colors mark the transitions and lines. You can create a sketch in which the region of fully embroidered clothing (fabric is not visible), or to depict only a silhouette with a few lines inside the object (e.g., leaf veins). The second option is easier, so if you have enough experience, use it.
2
Put carbon paper over the fabric where you are going to decorate the embroidery. Top off with a sketch. Place all of the layers evenly so that the clothes are not crushed and the sketch is not shifted.
Bring a drawing from sketch to fabric. Trace over all lines with a pencil to make the scheme fully copied on the clothes. The carbon paper then remove and sketch put it next.
Bring a drawing from sketch to fabric. Trace over all lines with a pencil to make the scheme fully copied on the clothes. The carbon paper then remove and sketch put it next.
3
Tuck the fabric in the Hoop, to the beginning of the first line, you are going to embroider, was opened for work. Insert the thread a needle and tie the end node. Guide the thread from the inside face to the point of beginning of the first line.
4
There are several techniques of bead embroidery: a "monastic", "arch", "forward needle", "pricep", etc. For delicate drawings suitable arched seam, otherwise called "back needle".
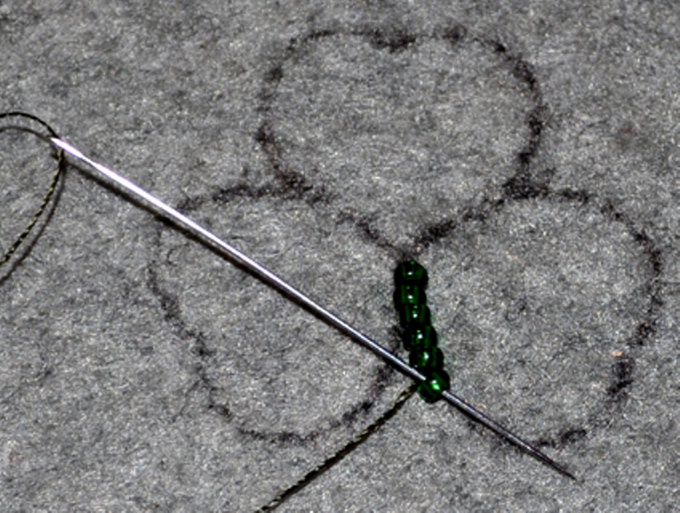
Dial on the needle 3-4 beads of the required color. Pass the needle through the fabric at such distance from the beginning, that between the beads there are no gaps. They should be located in a straight line.
Withdraw the needle again on the face of the last bead and go through it again. Dial 2-3 beads and re-attach them, going inside out. So work through the entire line.
In contrast to the "monastery" of the seam, the arch is more flexible and allows you to create patterns of various shapes.
5
Gradually shifting the Hoop, embroider on clothes all the lines of the drawing. Refer to the sketch to avoid confusion in the colors. The ends of the thread to hide the beads.
Note
Working with a thick fabric (like jeans), use larger beads or beads and thicker needle. Flexible beading needles can break, and it is rather hard and thick needle will not pass into the small hole beads.
Embroidered on the leather first with an awl mark the point of entry of the needle, make a small hole.
Embroidered on the leather first with an awl mark the point of entry of the needle, make a small hole.
