Instruction
1
Open the photo with a large and clear image of the person you want to retouch.
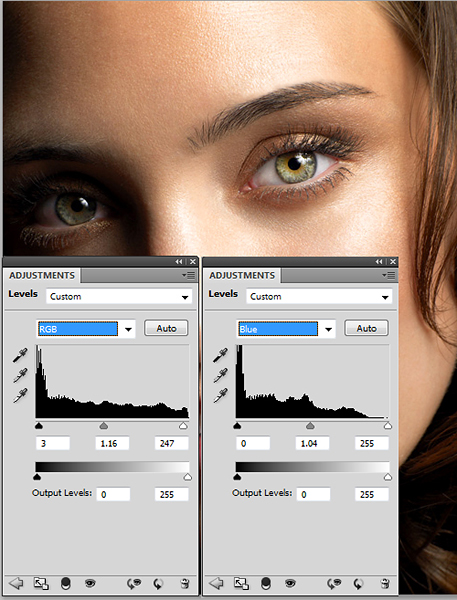
Make a copy of the layer with the picture zoom for convenience and start to remove visible imperfections, blemishes and uneven areas on the face. Use the Clone Stamp tool. Select a small soft brush, and then Alt-click on the face where the skin is as smooth and smooth. Release Alt and use a brush with the Clone Stamp to the places that you want to adjust.
After correction recheck for any remaining shortcomings. If you have aligned the skin efficiently, you can proceed to the next step — directly to the alignment of skin color.
2
Highlight the contour of face tool to select (Pen Tool or Lasso Tool). Lock the selection in the menu, right-click, select Feather with a setting of 4-5 pixels.
Copy selected entity to a new layer and then duplicate it again, so that the layers face was two. One of these layers lighten and another to darken the keyboard shortcut Ctrl+M. Create a third layer, fill it with the alleged bodily hue, which should have a skin, and place it between the layers with dark and light face. To each of these three layers, attach the mask (Layer Mask) with a full black fill, making areas of the mask invisible.
Copy selected entity to a new layer and then duplicate it again, so that the layers face was two. One of these layers lighten and another to darken the keyboard shortcut Ctrl+M. Create a third layer, fill it with the alleged bodily hue, which should have a skin, and place it between the layers with dark and light face. To each of these three layers, attach the mask (Layer Mask) with a full black fill, making areas of the mask invisible.
3
Select the layer with the brightened face and then take on the palette white color and soft opaque brush swipe across the face where there should be light areas. Between the layer and face layer with the selected skin tone should stand the Blending mode to Soft Light. Exactly the same as in the previous layer, apply a mask to this layer of white soft brush to the face found a new shade.
4
To eyes, lips, eyebrows, and hair is too light, use a layer with a darkened face and show it the same way places that should remain dark.
Correct combinations of color, light and dark, while the face will acquire a completely beautiful look.
Correct combinations of color, light and dark, while the face will acquire a completely beautiful look.
Note
Function Opasity allows you to make a certain slot, more intense, or, conversely, bright.
Useful advice
If You want to change the color of the clothes, then the most practical method involves the use of commands, the Picture – Image and the Correction – Adjustments. You should first use the command Layer - Layer, then New adjustment layer – New Adjustment Layer. Next, select an algorithm for transforming a color, then the color of the clothes will be changed and aligned.

