Instruction
1
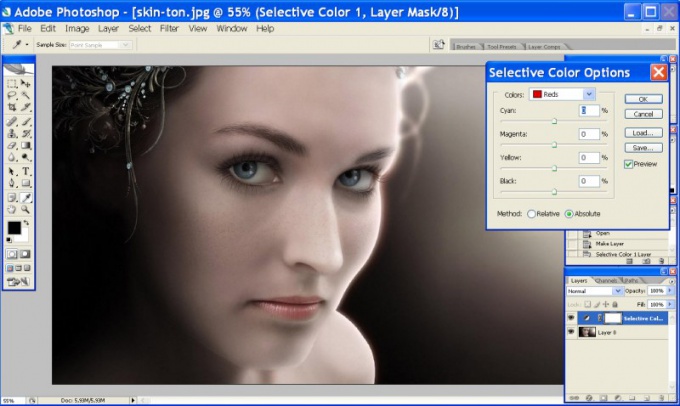
Open the picture in Adobe Photoshop. At the bottom of the layers panel, click the create adjustment layer Create new fill or adjustment layer and select Selective Color. In the layers panel will be working on a layer mask in which you will be able to change the colors in an image. It is much easier than working directly from a photograph, because there is no risk of spoiling the original.
2
In the Selective Color Options window you can change the ratio of colors in the selected image, moving the sliders color picker. For example, to fix too-pale skin color in the given picture, it is necessary to increase the brightness of the red color. For this list of Colors select Red and reduce the brightness of the blue-green (Cyan) because it is opposite the red one.
3
To neutralize the excess of green color, it is necessary to increase the brightness of the opposite of purple (Magenta). The opposite of blue is yellow. So, to add warmth to this photograph, you need to increase the brightness of the red, yellow and Magenta. To do this, slide the left and right engine Cyan – Magenta and Yellow. Contrast adjust with the engine Black.
4
In the list of Colors, select yellow (Yellow) and change the settings for it as described above. When the result suits you, click OK. If you think that the complexion was too bright, lower the opacity (opacity) adjustment layer.
5
Please note that at the same time with the skin color changed background color. If you are not happy with the changes, click the layer mask thumbnail (the white rectangle) on the toolbar, select a black brush and run it over the places where you want to restore the original image. You can change the stiffness and transparency of a brush, to revert completely or partially.