Instruction
1
It is desirable that the photo had clear boundaries, a man looked straight into the camera lens. First you need to cut the object with a native background and place it on the new. It is important that the object and background were on different fields. If the background is plain, you use the "Magic wand", if not, to highlight, choose the Pen tool.
2
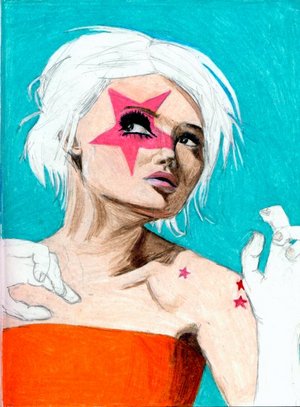
The image in the style of pop art is known for very high contrast. Bright background, place under the working layer that is under the layer with the object.
3
Now make the picture more contrast. Make sure that you are on the layer with the object. Select Image - Adjustment - Threshold (Image -> Adjustment -> Threshold ). In the auxiliary window, move the slider so that there is a sufficient number of shadows, and the object retains the shape and outline.
4
Highlight part of the image that will be painted in color. Each of them copy on its own layer. To do this, use the keys Alt + Ctrl + J. name each layer. Change the blending mode to "Multiply" (Multiply). Click OK.
5
Alternately activate each layer (Ctrl and click). Go to menu "Edit - Fill" (Edit> Fill). Click on the line "to Use" (Use). In the opened window, select the line "Color" (Color). A color palette appears, select a color at their discretion.
6
Double-click on the layer. A window will open the "layer Styles" (Layer Style). Select "Fill color". Change the blending Mode of the layers (blending mode to "Color" (Color). Select the color, click OK. Repeat this procedure for each layer.
7
Save the image in format .psd, make copies of painted layers. Now you can very easy to change the color of a plot using the Hues/Saturation (Hue/Saturation).