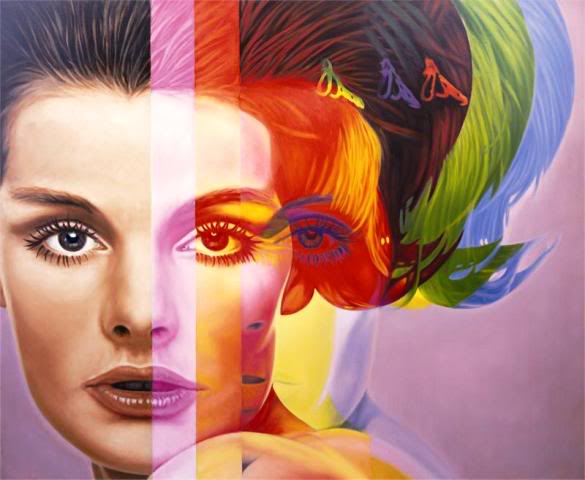
Instruction
1
Open selected photo in Photoshop, and then duplicate the main layer (Duplicate layer). The layer blend mode change to Color Dodge. Now press Ctrl+Shift+I invert the image and then open the Filter menu and select blur Gaussian Blur) with a blur radius of 7 pixels.
2
Right-click the top layer in the layers palette and click the Threshold parameter to create and configure a new adjustment layer. Set the value of the Threshold Level 234, then click OK.
3
Now create another new layer and set the layer blend mode to Multiply option. On the toolbar, select the brush Tool and carefully paint over the skin on the image of bodily hue, while in the new layer. Select the color with which you paint the skin, as the main, and white color is set as auxiliary.
4
Now open the Filter menu and select Sketch. In the menu, select Halftone. In the opened window, under Halftone Pattern set: Size 2, Contrast 50, Pattern Type Dot. Shaded area of the picture will become characteristic of the style of pop art dot texture.
5
Create a new document with a transparent background (Transparent) size 40x40 pixels. In a new document create a new layer, fill it with black, then create a second layer and take on the toolbar pencil Pencil, and then draw on a black background pattern of white crosses.
6
Delete the black background layer, then open the Edit menu and select Define Pattern to create a new texture.
7
Now again open the document with your picture and create a new layer. Blending mode set to Overlay again and paint over the clothes on the pictures in a different color.
8
Setting Layer Style to change to a Pattern Overlay, and choose the texture you just created the texture of the crosses. This texture will apply to coloring hair and other body parts, fragments, and background photos. Figure is ready!
