Instruction
1
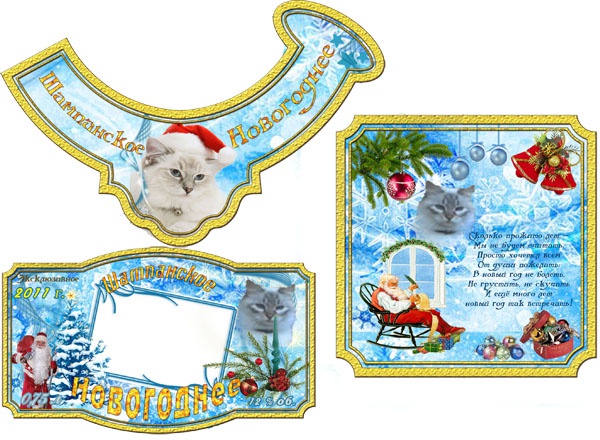
To make your own brand label by using Photoshop. To start search the Internet and download any image texture that you like and fit the theme – for example, the texture of cardboard or crumpled paper.
2
In Photoshop create a new document and upload the downloaded texture, simultaneously moving it to a new image. Create a form with labels on a separate layer by drawing the outline with Pen tool Tool – at this stage, the texture layer can be temporarily made invisible.
3
Select the created contour and, if necessary, rename it. Then click on the keyboard, press U and draw by holding Shift, right place the label club, which can then be cut to affix the label over the ribbon or string to the product.
4
Select the Direct Selection tool and select the created circuit, and then drag it onto the texture and then select the tool free transform (Free Transform). Holding Shift, drag the outline of the texture to the desired size. Now, convert the path to selection and add layer mask, then go to layer styles (Layer Style) and set some options – Drop Shadow with blending mode Multiply, Bevel and Emboss style Inner Bevel.
5
Now create a new layer and click on the toolbar Elliptical Marquee Tool. Create around a circle previously created circular selection. Fill it with suitable color. Change the layer blend mode to Multiply, and then reduce the layer opacity to 70%.
6
Modify the label – draw a rope using the Pen Tool instrumenter and apply to them the option Stroke. Write on the label of any text describing your products or insert a logo.