You will need
- - scrap
- - polyurethane foam,
- - PVC film,
- - Scotch
- cement,
- - sand,
- - punch,
- - drill,
- - nozzle for mixing of concrete,
- the primer,
- - the level
- Laghi,
- - screws,
- - tubular nails,
- - insulation,
- sealant
- - plywood.
Instruction
1
Remove a small area ofthe floora final coating, if any, and confirm the unsuitability of the old floorand that you need to replace a new one as repairing it is not subject.
2
Free repaired the room from appliances and furniture. If the walls also requires repair, is to get rid of Wallpaper, tiles or paint. If you change floors in the kitchen, try but cautiously disconnect a gas oven, which should be connected to the gas manifold by a flexible hose. But it is worth noting that to connect the gas stove should the master of the city, with whom I need to contact you by phone and make a request.
3
Then, using scrap and other tools to removefloorinoe coating and moldings. Under gender, you will find a huge amount of debris and dirt to be collected in bags and disposed of. Before you replace your floorsand you need to seal all the seams between the panels floorand walls, especially if you live on the first floor. This can be done with cement mortar or foam.
4
Lay on the entire surface of the floorand PVC film and secure it to the walls with duct tape.
5
Prepare a mixture of high-quality cement of grade M-400 with sand and mix thoroughly with a drill with a special nozzle. Pour the floor with concrete layer of approximately 5 cm directly on the floor ofetilen. It is better to fill all the space to spread out the concrete evenly. But you can also make a screed floorand the small parts.
6
At the time of concrete hardening is better to leave the apartment. If this is not possible, make a walkway from the floorovyh boards from entering the apartment to important places – the toilet, bathtub.
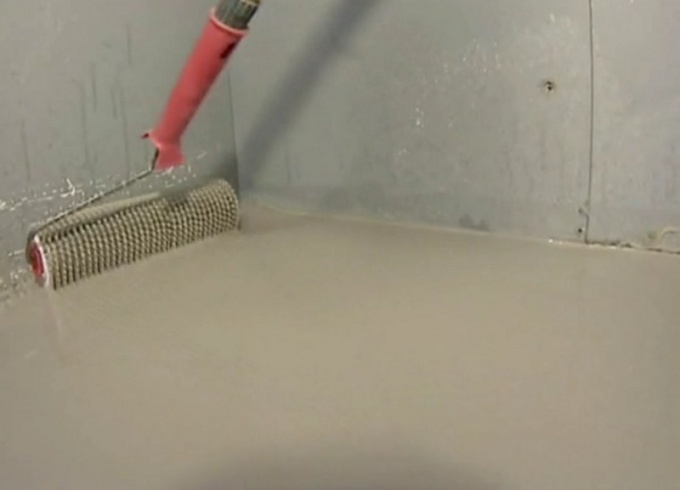
7
After the concrete hardens, you need to make another layer of waterproofing. For this approach the primer of deep penetration or roofing.
8
Measure the length of the room, measure and sawed logs the right length. Lay the joists into place and align on the level. The joists, drill through holes that need to pass through touching the concrete slab and screed floors. In these apertures drive in tubular nails, the length of which must be at least 18 inches.
9
Lay the joists between the insulation and your floor will always be warm. On the joists, lay plywood so that between the walls and plywood remained at a distance of about a centimeter, and between other sheets of plywood about two millimeters.
10
Screw the plywood sheets to the joists with screws, the length of which should reach 4.5 inches. If the joints between the plywood are of different heights, treat the seams with a planer. The seams between sheets of plywood sealed with sealant, and the seams between the wall and the plywood – foam, which will need to be cut after hardening under par with PaulOhm.
11
Floor has been replaced, now you can start putting down linoleum or laying laminate flooring.