You will need
- Adobe Photoshop, photos.
Instruction
1
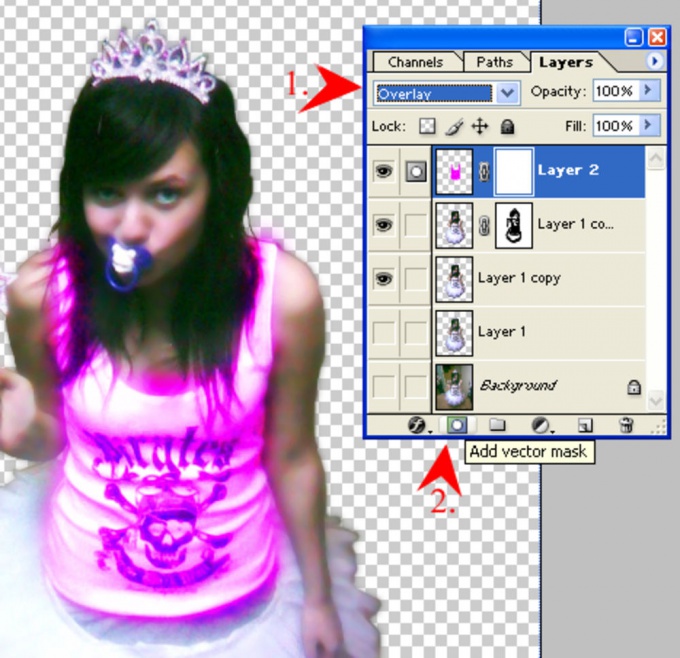
To work with mask layers, you must create it. For this there is the Add Layer Mask button located at the bottom of the Layers palette. Running this command, Photoshop creates a mask for the active layer. Next to the image thumbnail in the Layers palette occurs the white rectangle. White color for the mask layer designates an opaque region, while black is transparent. Shades of grey are responsible for the translucent region.
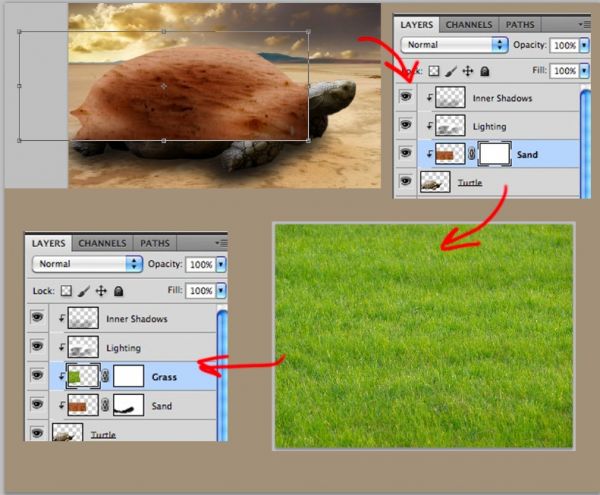
2
Applying a mask layer, you can create a montage of two photos. To do this, place the images on different layers one over the other. In this one image overlaps another. Then you need to create a mask layer for the top of the image. Then you can begin working in the mask. To work in a mask, click it with the mouse or pen. You should then fill the whole mask with black color by pressing Ctrl+Backspace. When the entire mask is filled with black, it becomes transparent. Next, you can go directly to the creation of the collage. To do this, with a brush, it is necessary to paint on the mask the area you want to make visible.
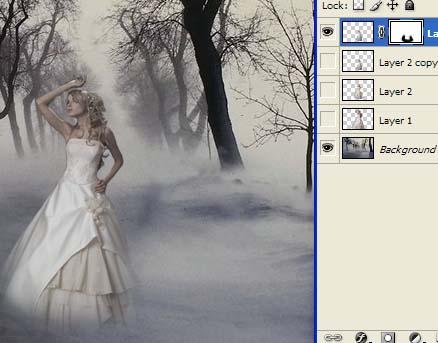
3
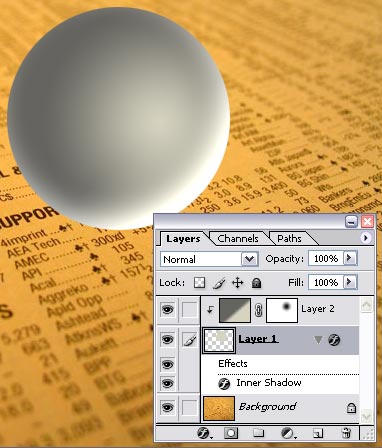
With a mask layer , you can create smooth transitions between two images using the Gradient tool. For this you need to copy the images on two different layers, and to the top of them to apply the mask. Then, going into the mask , press G to apply the gradient. It should be checked in the properties panel, so that the gradient was a smooth transition from black to white. So that the gradient was smooth, you should hold down the Shift key to hold on the mask line from top to bottom, starting from about one third image from the bottom.
4
This replicated the effect of how the text filled in any image can be created with the help of a mask layer. To do this, create a blank document and copy to a new layer in any image. Then click T (Text) and in the properties panel, click the "Text mask". You must then dial the desired text and click on the button to create the mask layer. As a result of these simple manipulations of text filled with image.
Note
By default, the generated mask is filled with pure white. That is, the image is not masked, the impact of this effect is 100%. The mask can only display shades of gray, so when using color gradients on the mask will still appear transitions only in shades of grey.
Useful advice
The mask is convenient to use as a "snapshot" of you created the selection. To do this, simply go to the Channels tab and click the "Save selection as channel". There will be new black-and-white alpha channel. Now you can deselect. The mask can be used when required, just click on it, hold down the Ctrl key.