You will need
- - installed Adobe Photoshop.
Instruction
1
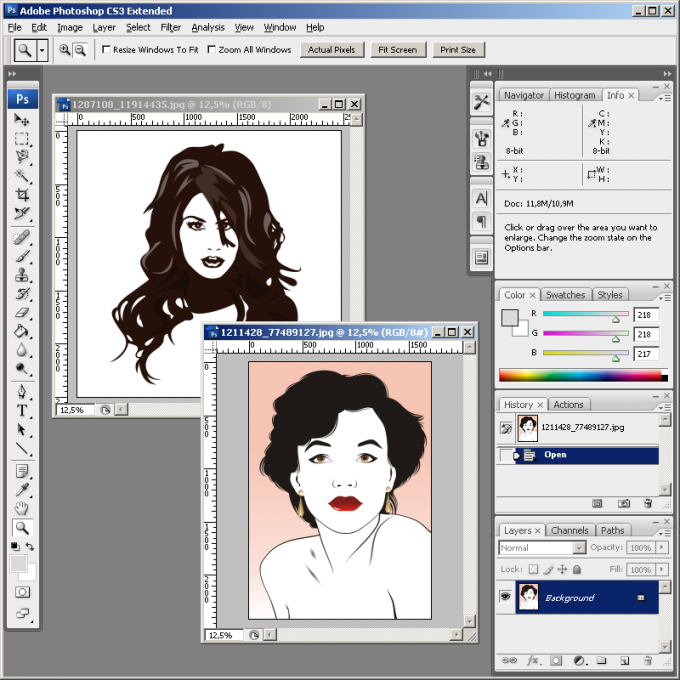
Open in Adobe Photoshop for two photos (one with which and that to which you want to transfer face). To download the image, press Ctrl+O or from the main menu select File and "Open..." then browse to the directory with the desired file, select it in the listing, and then click Open.
2
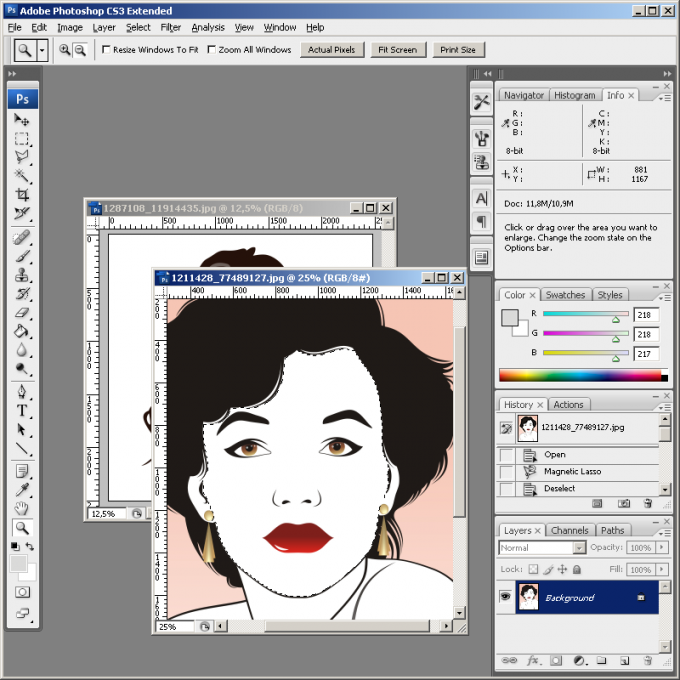
Create a selection covering all the face, on the pictureswith which it should be moved. Use the tools groups Lasso Tool and Marquee Tool.
3
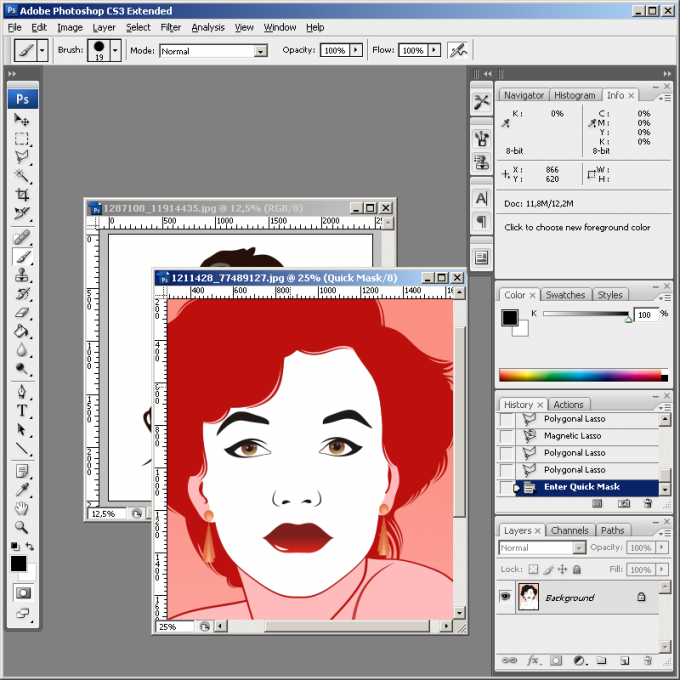
Adjust the selection area by using QuickMask. Press the Q key on the keyboard or click Edit in Quick Mask Mode on the toolbar. Activate the Brush tool. Choose a brush from the drop-down pane of the Brush. Set the black foreground color. Working with a brush, remove any excess selection. Similarly, selecting a white color add to provide the necessary region. Exit quick mask mode by pressing Q or the button on the toolbar.
4
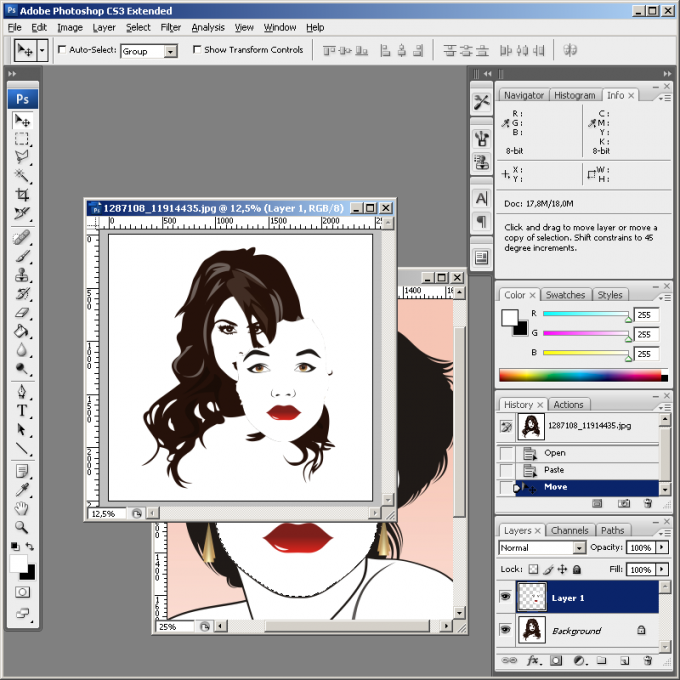
Transfer a face from one photo to another. Copy the current selection to the clipboard. To do this, press Ctrl+C or select Edit and Copy from the menu. Switch to the window with the image that you want to insert the face. Press Ctrl+V or select Edit and Paste. Close the window with the image source.
5
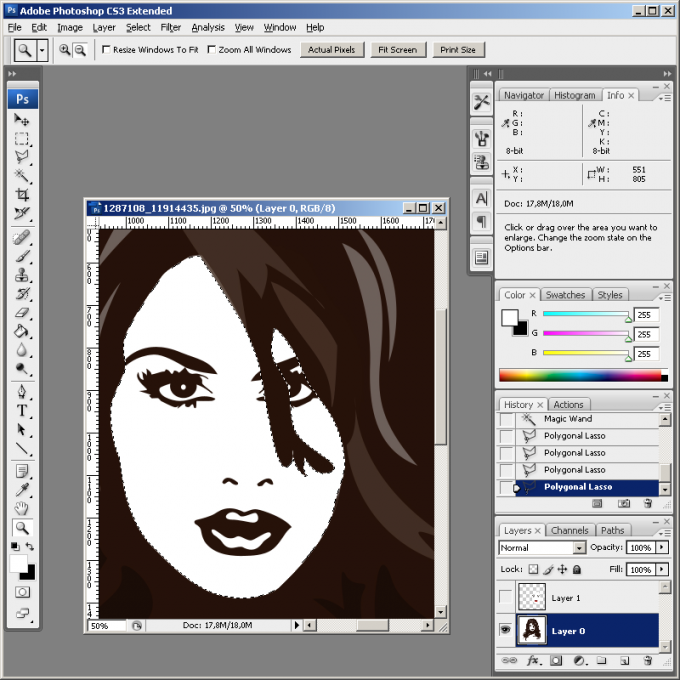
Select the face on the target image. Turn off the visibility of the current layer in the layers panel. Switch to the bottom (background) layer. Take similar steps as in the second and third step.
6
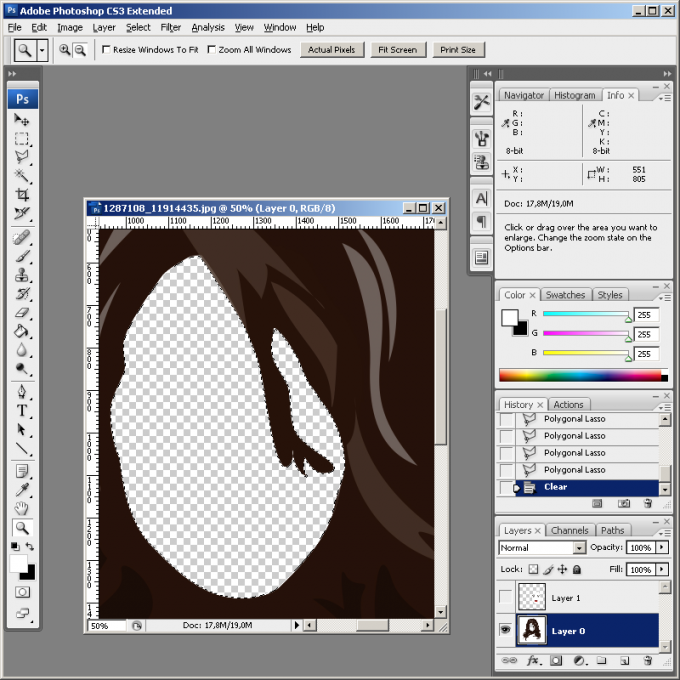
Remove the face from the image background layer. In the menu click Layer, New, "Layer From Background...". In the New Layer dialog click OK. Click Delete or click Edit and Clear.
7
Combine moved on the photo and the person with the source image. Activate and turn on the visibility of the top layer. Select from the menu, Layer, Arrange and Send to Back to move the layer down. Activate zoom mode, selecting Edit, Transform and Scale. Press and hold the Shift key. Drag the corners of the frame in the workspace to resize the image. Mouse move the person to the right place. Click on any tool and click the OK button in the dialog to apply the changes. The implementation of these actions may make sense to temporarily increase the transparency of the top layer by setting its Opacity parameter.
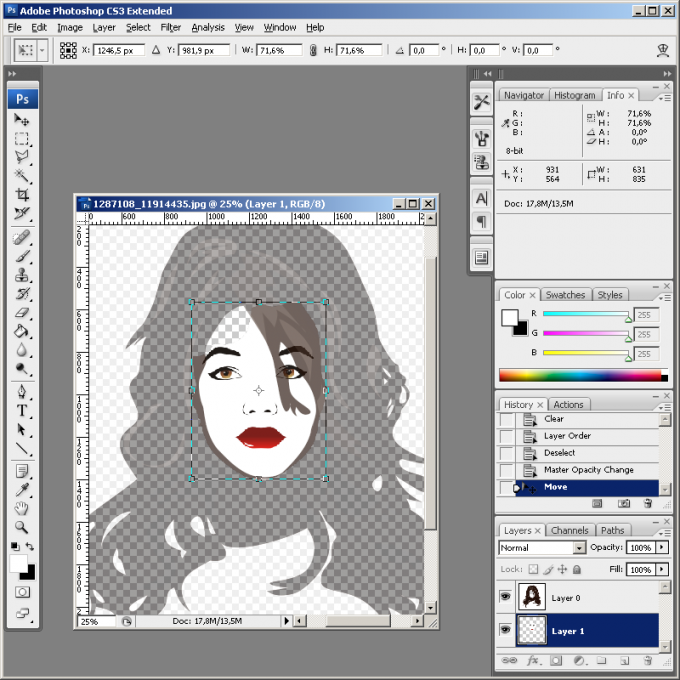
8
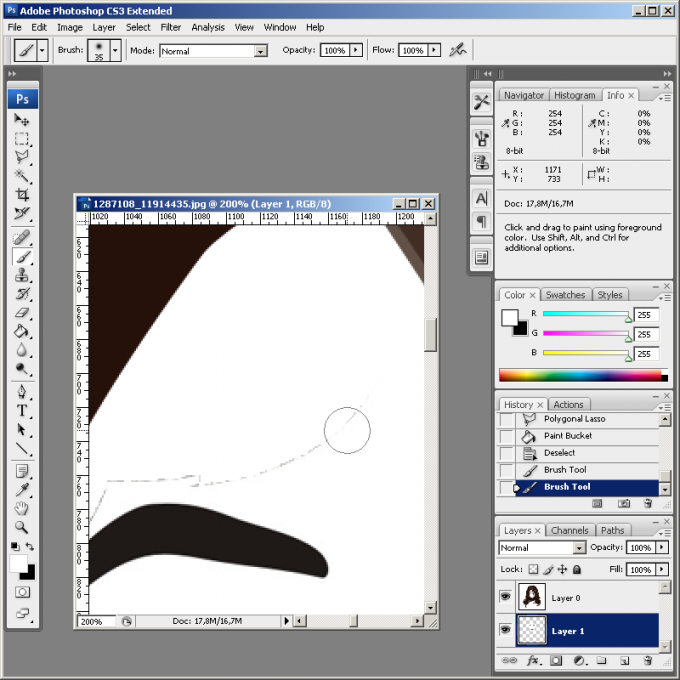
Adjust the transferred face to the original image. If there are transparent areas, fill them with a suitable background, using the Clone Stamp Tool. Remove possible defects using the Healing Brush Tool or the paint brush. To align your images, you can make some region in the upper layer translucent, making adjustments using quick mask.
9
Evaluate the results and save the image. Select the appropriate scale to be viewed using a Zoom Tool. Make sure that the combination of images produced efficiently. If necessary, go back to the treatment process. Press Ctrl+Shift+S or Alt+Ctrl+Shift+S and save the photo to a file.
