You will need
- Phillips screwdriver, wire cutters, soldering iron, solder, sponge, cotton cloth, breadboard, resistors, transistors, capacitor, diodes, electrical tape, wire, building pedals, audio adapter
Instruction
1
Engage in theoretical training. Learn how to read electronic circuit, to use a prototyping Board and soldering.
2
Locate and download scheme simple distortion pedals. Choose a template consisting of a small number of components with no integrated circuits, which you can start to use, when you gain experience.
3
Create a list of required components. Usually such lists are attached to the schemes. If not, copy the ingredients directly from the scheme and add other necessary things, for example, the case of the pedal, audio adapter and wire. It's time to go to the store radio products.
4
Itemize all the connections in the circuit. Give a number to each connection between two components. So you don't miss a single step.
5
Insert the components into the prototyping Board. Each electronic component has two or three small protruding metal wiring with which you will be able to securely attach components to the Board.
6
Connect the two components using wire. Bare wire ends and wrap them around the terminals of each component, and then solder the connection.
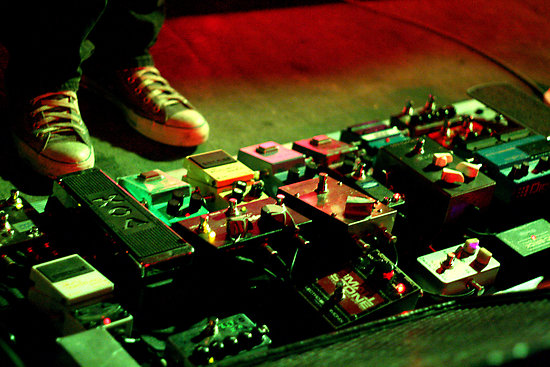
7
When you spaete all connections, time to start assembling the pedal. Slide the mounting Board into the housing of the pedal and secure it with tape or screws. Take two guitar cables, one of them will connect the guitar with the lotion and the second lotion with a guitar amp. Turn on the pedal and amp. Time to play rock!
Note
Don't forget to insulate the exposed ends of the wires which can cause short circuit.
Useful advice
Guitar pedals are usually mounted on the floor and operated with his feet. Make sure that all the items inside the pedal was securely fastened, otherwise the pedal can stop working from one careless kick