You will need
- A wooden rail, PVA glue, staples for stapler, paint based on synthetic and decorative baguette.
Instruction
1
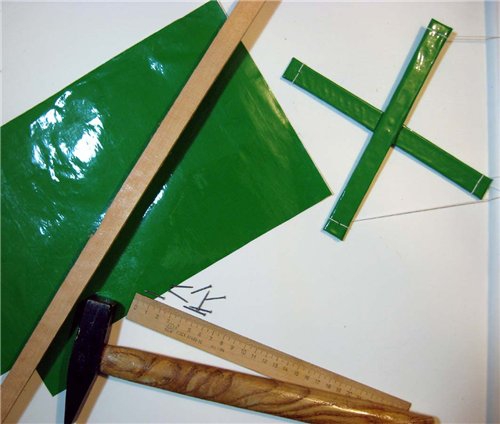
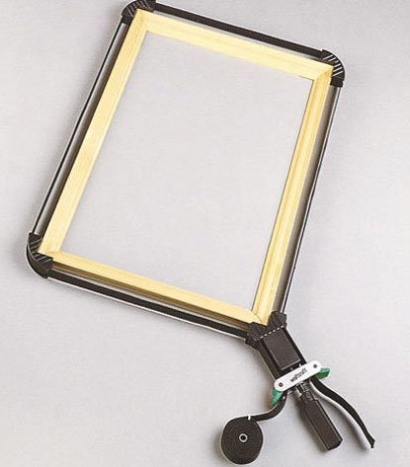
Start with the size of the future framework. Only you can decide whether it's a frame for a photo 10x15 cm or 9x12 the Next step is to properly measure your desired length, and then gently saw off the edge of the rail at an angle of 45°. When the future side of the frame is ready, take the bracket for the stapler and share it into two equal l-shaped part. Using these brackets you can easily connect the two sides of the frame so that the joints will remain not visible. But to consolidate and make the frame more durable, before connection of the parties to the braces, you should brush them with glue.

2
After the glue has dried, the frame is ready to apply on the surface of the paint, and then to show imagination!

3
Attach the photo to the frame with a stapler, a photo of a pre-laminate. Laminating first, will make it easier to clean the photo from dust and, secondly, to relieve the stress on the frame.

4
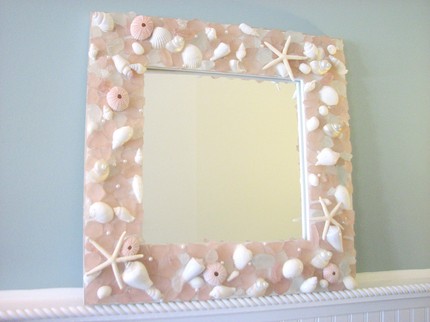
Another, more laborious, method of manufacturing the frame. Initially, the principle is the same. You will need wooden blocks 8х10мм for gluing the main frame and bars 5х35мм for the second frame. Their sizes must be the same as the corresponding side of the framework should be perpendicular to interconnect. The result should be something similar to the box. The connecting joint around the perimeter seal with a decorative baguette. Before using a baguette, you should double to cover the adhesive to the spray paint from damaging the surface. After the frame has dried, it is safe to cover any paint. Painted decorative baguette will give a finished product is just wonderful.
Note
When painting be careful. Don't lean the frame painted side to the surfaces.
Useful advice
Start painting the frame is not less than 2 hours after bonding. And better leave the glue to dry overnight.
