Instruction
1
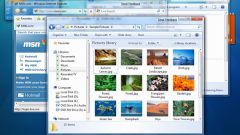
In Windows 7 and Windows Vista, the sequence of events is very simple. First click the mouse anywhere on the work table - you need to be sure that the system had turned his attention ("had focus") is on the Desk, not watching the programme with which you worked before this (e.g. browser).
2
And then press CTRL and keep it pressed, rotate the mouse wheel. With the default settings the rotation of the wheel away from you to increase the size of icons on the work table, and rotation to afford to reduce.
3
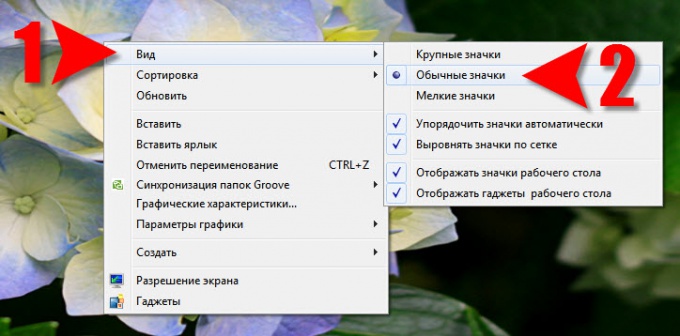
In addition to this there is another option - click right-click free from icons the desktop space. In the menu that appears (called "context") move the cursor to the top line - the "View". Revealed the subsection of this item in the context menu, where you will have the opportunity to choose from three preset icon sizes (large, normal, small).
4
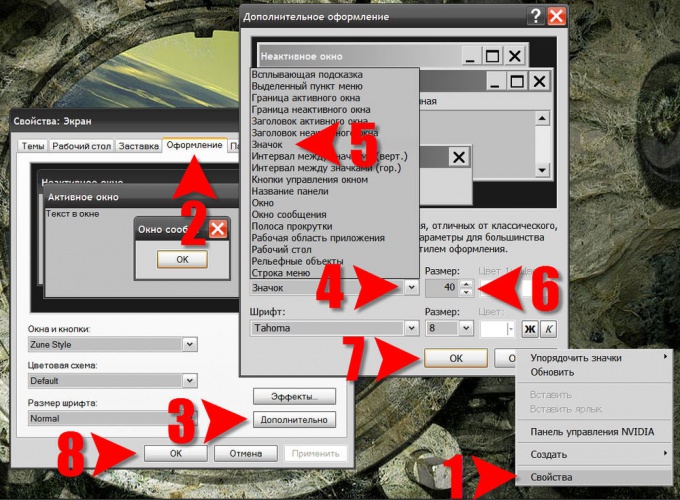
In Windows XP, same setting desktop icons will require much larger number of manipulations. First, click the right mouse button on an icon-free area of the desktop. In the context menu select the bottom item is "Properties". This will open the display properties window.
5
In the properties window click the appearance tab and click Advanced. This will open the corresponding window with the title "Additional design".
6
In this window, open the drop-down list Element and select the line Icon. Then, by changing the numbers in the window Size you can change the size of icons on the desktop. In this window, the dimensions are in pixels. In addition, the line below you can set the type and size of the font of the labels for the icons.
7
Putting the right size, click "OK" in both Windows "advanced appearance" and "display Properties".