You will need
- satellite dish, TV, scart connector, connector "Tulip", satellite receiver
Instruction
1
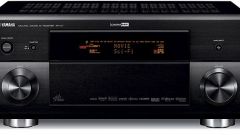
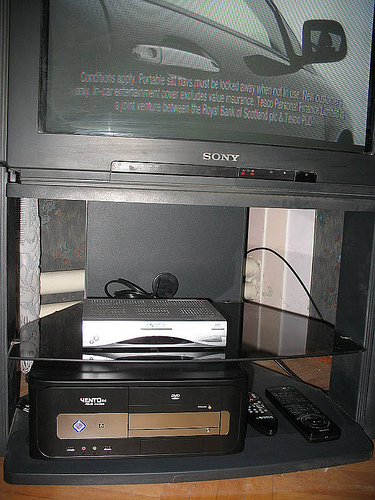
Connect the cable from the satellite antenna in connector on the rear panel of the receiver. Usually it is marked "LNB IN" or "IF Input". All connectors for equipment are on the rear panel. They are standard on all models. Connect the receiver to the TV video input. This can be done by using the Scart-connector or type "Tulip". Typically, the video is connected via the "yellow" connector, audio – in "black" and "red" connector. Some types of receivers can be connected at a high frequency.
2
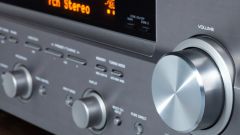
Turn on the receiver. Tune the television to the corresponding channel indicated in the instructions to the receiver. The screen will display the picture with the logo of the receiver. If it is already installed channels will be displayed channel list.Press the "Menu" button, sometimes you have to press "OK". They are on the remote control or on the front panel of the receiver. Install Russian language menu. After you select the language, configure the basic settings current time settings and video output. Tuner (receiver) may request a PIN access code, usually it is 0000 or 1234.
3
Perform a full reset of the receiver. This only deletes the list of channels. It is required to remove excess satellite settings. Add the satellite settings of the transponders of satellites that are accepted in the area.If the receiver is intended only for viewing free channels, i.e., FTA, and there are no CI or contact readers for smart cards, limit your search to only not encoded channels. This option is indicated by the “FTA only”. It is thus possible to maintain the order in the list.
4
Check in the setup menu of the satellite tuner:1. The availability of the necessary satellite.2. Check the adjustment of the satellite head: linear head universal LNB (9750/10600 lo frequency); a circular head circular LNB (lo frequency 10750); C-BAND (C-band) C – BAND LNB (lo frequency 5150). The data is on the label of the satellite Converter.3. Select the satellite and set the appropriate DiSEqC port for the selected satellite, if the satellite dish has more than one Converter. On the DiSEqC switch written inputs for connecting satellite Converter. Write down what the inputs when connecting the satellite to the DiSEqC heads were connected to each Converter. In the menu of the receiver set the DiSEqC ports of the switch according to satellite converters.If you do not know or have forgotten, what ports are exposed, locate the appropriate companion Robin. Put the settings to the desired satellite and scan it. To scan a transponder, go to the menu satellite tuner to the settings section of transponders, satellite Converter, DiSEqC, etc. Select the required transponder (if not, then it must be added). Then click the appropriate button on the remote control to scan for this at the bottom of the TV screen have colored tips that match the color keys on the remote control. This can be done both in manual and in automatic mode.
Useful advice
spend a twice a month auto scan satellite channels on the configured satellites