You will need
- screwdriver sets, stars, heads, screwdriver, scissors, or wire cutters, pliers, pipe wrench, rubber mallet.
Instruction
1
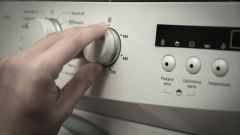
Over time the bearing wears and becomes unusable. So if you hear extra rattling during operation of the machine, the first thing to replace the bearing. Otherwise such a small detail can bring down the entire reel.
2
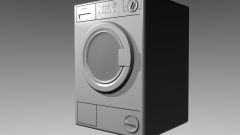
When the front device of the washing machine bearingand located in the rear half of the tank. Therefore, first remove the back wall of the machine.
3
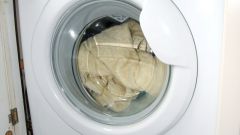
Empty the tank from the wires, pipes. Pull the engine, then remove heater washing machine rear counterweight.
4
Then, remove the cuff of the hatch with the front wall of the unit and detach the shock absorbers.
5
Now nothing prevents to pull the tank. Carefully remove it with the spring washer.
6
After that, Unscrew the screws which connect the halves of the tank, and divide it into two parts. Remove the seal, inspect the snap ring. Remove the stopper and mypressure bearing.
7
After that, clean the seat and press the new bearingback and forth. Assemble everything in reverse order.
8
To replace the bearings possible to dismantle the washing machine part. To do this, remove the back wall of the tank. In it are the bearingand oil seal. In some designs on the back of the tank mounted to the support seal and bearingAMI. In this case, first remove the caliper, clean the drum shaft and install the new caliper. Do not forget to replace the gasket in the caliper.
9
In the second embodiment the bearingand pressed in the lid of the tank. Knock out the bearingand oil seal, make them replace and assemble everything in reverse order.
10
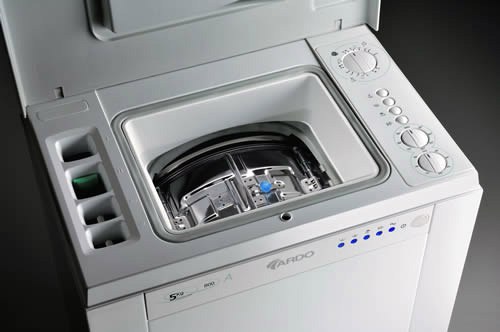
When replacing the bearings in the washing machine "Ardo", note important point. The drum shaft has a bronze bushing which serves for airtight connection node bearings. It should not be dented or dirt. Seal press this sleeve and does not let water into the bearing. If the accumulation of plaque, dirt or damaged, replace bearingand will be ineffective. So, first of all, clean the bushing from plaque first with a cloth, and then fine sandpaper. Clean to Shine, the less roughness, the longer the machine.