You will need
- - rubber patch;
- rubber adhesive;
- block;
- - hammer;
- - solvent;
- - rags or wadding;
- - the file;
- - the skin;
- - soldering iron and kapron (if necessary).
Instruction
1
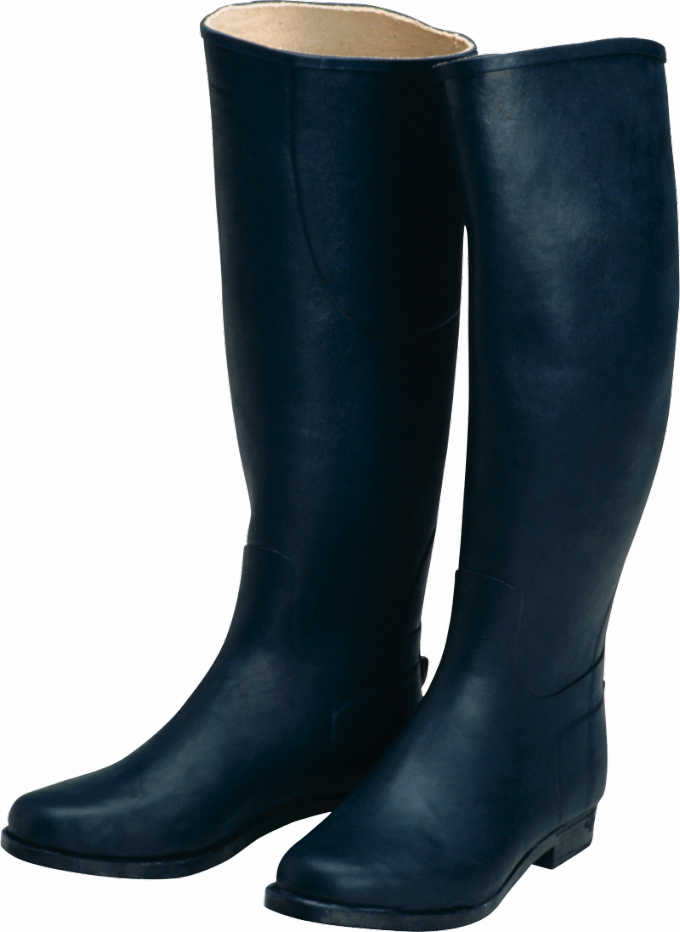
Prepare a leaky rubber boots to fix. First of all, they should be thoroughly cleaned of all contaminants and completely dry. Then you need to find a suitable patch of rubber. For example, it is possible to cut out the junk rubber shoes or Bicycle tires.
2
Treat the reverse side of the patch and cut around the break in the boot (front side) with a file, then go over them with a abrasive wheel or coarse sandpaper. It is necessary to inject the bonding surfaces roughness glue better grab.
3
Wipe the rubber insert and seat holes with solvent or acetone, soaking in a degreasing tool, clean rags or cotton swab. Ensure that the fibres or particles of wool left on the surface.
4
Trim the edges of the patch to boot, so she was a bit smaller (approximately a few millimeters) sanded rough region. You can now proceed directly to the gluing of the Shoe.
5
Use glue for rubber surfaces (such as a "great Moment" for rubber or "Rubber"). Well, if you will have the opportunity to consult with an experienced Shoe master, buy professional adhesive composition according to the Council.
6
Read the instructions of the adhesive manufacturer and be sure to stick to. Put on the patch and the area of holes in a thin layer and leave on for 10 to 20 minutes (depending on the requirements on the adhesive packaging). Some master make spreading the glue twice, both times a little drying with it.
7
Strongly press bonded surfaces. You can pull the boot on a pad or on a piece of wood and tapped the patch with a hammer. However be careful it didn't move. Do not use patched boots earlier than in a day.
Useful advice
If a rubber boot sole punctured or flattened heel, try updating it using scraps of nylon stockings and a soldering iron. On sanded and degreased the damaged surface, apply a nylon lumps and RUB into the hot rubber iron core.