Instruction
1
If you are sure that all the disks are physically connected (all the necessary cables are designed for them connectors), check the disks via the "System". It can cause several ways. The first option: "start menu" open "control Panel", in the category "Performance and maintenance" icon, select "System". Alternatively, the "Desktop" click on the icon for the item "My computer", right-click and select menu item "Properties".
2
In the window "system Properties" click the tab "Hardware" and click "device Manager" in the same group. A new window will open. From the list of available devices select the required drive and click on it twice with the left mouse button to open its properties window. Open the "General" tab and make sure under "device usage" is set to "use This device (enabled)".
3
Call the component "computer Management" and make sure the drive has the name (sometimes it happens that the letters "fly"). To cause the specified component, open the "control Panel" via "start menu". In the category "Performance and maintenance" click the icon "administrative tools" shortcut "computer Management". Access to danomu component can be accessed through the Documents and Settings folder . A sample path might look like this: C: (or other drive system)/Documents and Settings/[user account]/start menu/Programs/administrative tools.
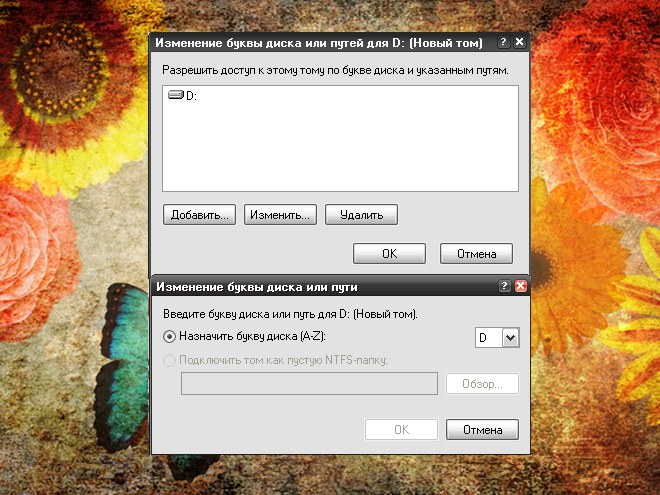
4
In the left part of the window "computer Management", expand "Storage" and scroll to the left click "disk Management". In the right part of the window, select from the list the desired disk and click right button of the mouse. In the drop down menu select "Change drive letter or drive path". In the new window, highlight the current name and click Edit. In the additional window using the drop-down list, assign the desired letter, press OK and close the window.