You will need
- - spatula
- - cushions
- - cuvette
- - plaster
- - primer
- - fiberglass
- - bucket fillers
Instruction
1
To start, strip the walls from previous coverage. If you were Wallpaper, moisten and remove them. If the walls were whitewashed, then rinse with warm water. But if there was oil paint, then the matter will be more serious. Try to clean the old paint to the base of the wall, i.e., to panel or plaster. You can do it with a spatula, and if the paint is not amenable, then try to do it with a hatchet or chisel. In any case, clean the wall surface thoroughly.
2
Once you have freed the walls from old paint, proceed to the repair of the walls. Are defects such as cracks, loose plaster, or even worse, the fungus on the walls.
3
If the wall is cracked, cut them deeper, and then primed. If the cracks are not deep, zashpaklyuyte their basic putty, and if the cracks are very deep, fill them with a solution. It so happens that pieces of plaster layer away from the wall with paint or Wallpaper. Don't ignore such problems. Take a hammer and knock down the plaster to the base of the wall, and the place is primed and chipping plaster.
4
The fungus on the walls is a frequent guest on the first floor. Take a special part for fungus and apply it with a brush, trying to RUB the walls. This will help you in the future to get rid of this trouble. If the walls are still some flaws that you saw, then try to remove them before finishing putty.
5
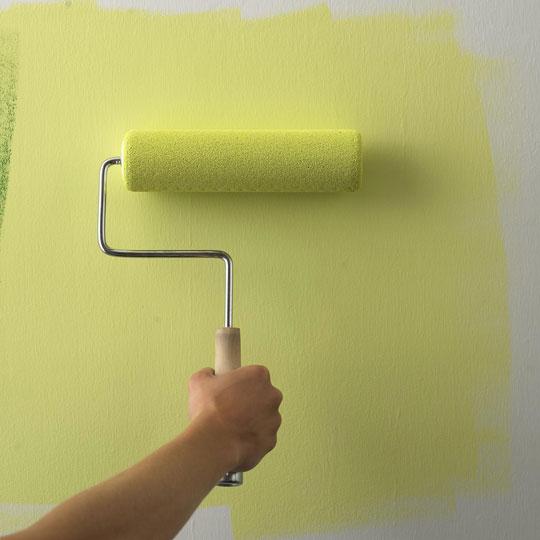
The next step will be priming the walls. You made sure that the walls are repaired all cracks, holes, chips embedded. Then proceed to priming the entire wall surface with acrylic primer, as it is applicable to all types of surfaces. Take a foam roller, dip it in a cuvette (a special container for paint) with soil and press it. Now apply primer on the wall from the bottom up and do not rush. Try to keep all parts of the walls were primed.
6
To the wall later was crack, they stick a special fiberglass. This coating is relatively durable, it does not break, holds tight on the wall. Stick it glue for vinyl Wallpaper special and smooth with a spatula. Prepare the glue as it is written on the box and let it stand for a bit. Next, take the roller and spread glue on the wall. Cut fiberglass, which is equal to the height of the wall, and stick it, smoothing from the center to the edges. The following fabric glue the overlap on the previous and spatula parasite both paintings. You get that both paintings hang butt joint. When all the walls you will hang the canvas, then once again go at it with glue. Do it in order not to apply the primer.
7
Now it is time for the finishing putty. On the glass it runs for 2 times, this is the technology of finishing works. Plaster finish is done to "tearing". Apply the grout to the wall with a thin layer of a large spatula, and the excess of putty to remove it a second spatula is smaller. Apply the putty evenly.
8
After the plaster dries, Proskura fine mesh, which can be bought in DIY stores. Do not push on the wall hard to avoid scratches. And the last thing you should do is once all the walls are primed. Now they are ready for painting.
Useful advice
prepare the walls for painting, fiberglass, plaster